Lately I've been doing small stuff as I have time, so here is a few things I've done lately on the old girl:
Replaced spark plugs and wires
Adjusted the closet doors
Installed new latches on the closet doors (To secure them while driving)
Removed the "new" side mirrors and installed the original chrome mirrors
Reinforced and aligned the rear exterior door
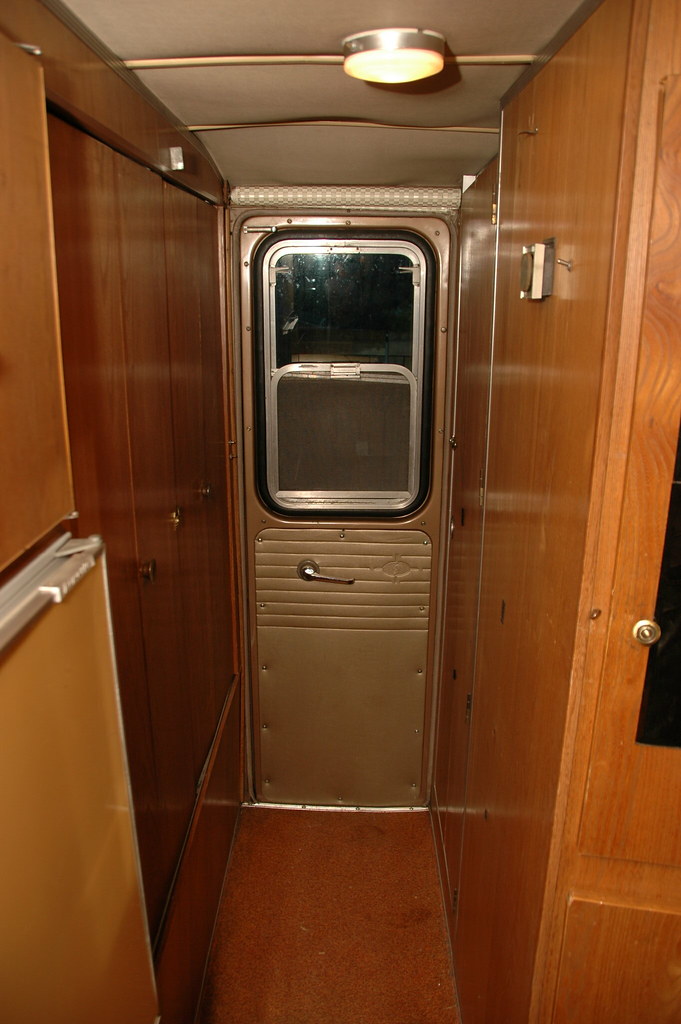
removed the bathroom door secure latch and installed a new bolt to secure the door while traveling
the next one I'll go into a bit more detail on, the rear bench seat for the lower bed... so there is a mini wall or partition that is bolted to and protrudes out from the cabinet that houses the fridge. The rear bench support bolts up to the partition and down to the floor, then a second frame slides on that one and has the actual bench/seat bolted to it. That is the bed support when you pull it out. Well here is what I'm trying to accomplish here, I want the wall shorter and skinnier so as to not be as intrusive when it's made into a bed, and so it doesn't block rear view in while driving.
So the frame itself was mounted in the center of the bench, that was about 4 inches from the edge of the wall. I found I could move that frame over 4 inches or so towards the wall and still not hit the folded table when pulling the bench out into a bed. So I remounted the frame, then rebolted the seat to it and tada, I have about 8" of the wall I can remove.
So I'm trying to figure out, and it may only be apparent which way I go with it after I remove the partition if I can shorten this wall in addition to making it skinnier. The fading and what's behind it on the fridge cabinet is going to determine that for sure. I think the way to go here is to remove the wall from teh inside... cut off a strait line of about 4" or so, then use the outline for where it meets the wall and trim to trace to get a flush fit against the wall. So for now, it still has the full wall, just has the hardware shifted. I'll come back to that later, I want to see if there is any drawbacks with having the hardware shifted before I commit to it by cutting the wall.
The last couple of things I need to do before it's "camp-able" in my eyes would be the the plumbing and ceiling fan at this point. The Kitchen Faucet needs to be replaced, I think I have one upstairs that will work fine for this... in fact I may have two. Then I need to address a possible leak in the water heater, re-attach the toilet supply valve. Oh, and I have a new sewer dump valve I need to install too. Should be ready to start camping later this summer.
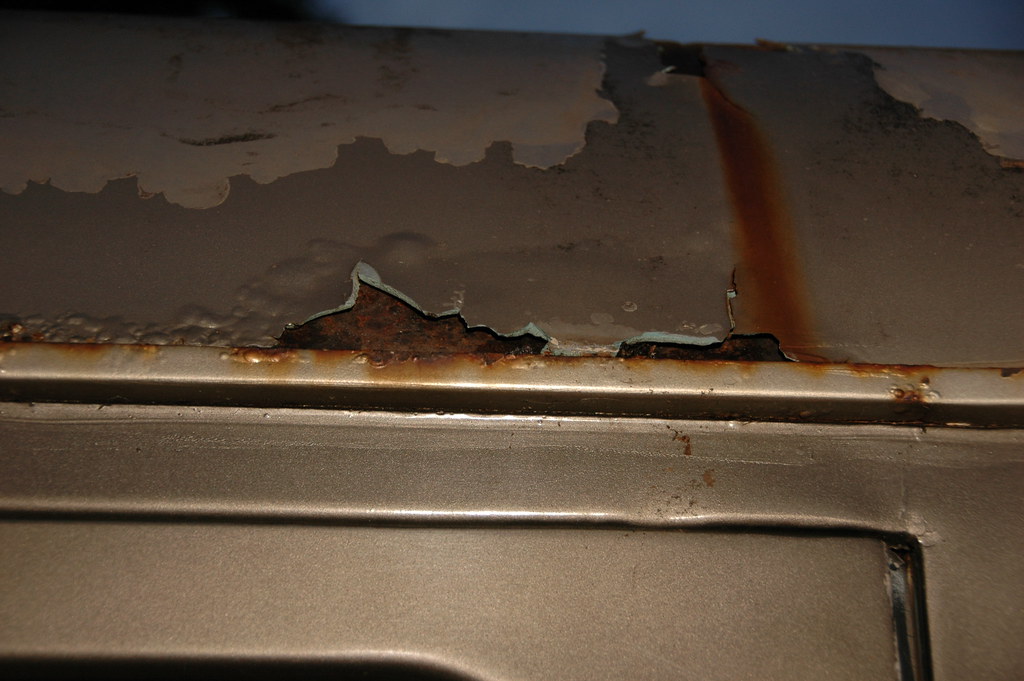
Still trying to decide how deep into the rust repair I want to go... I have a feeling this is going to turn into a similar situation as trying to chase damage from a water leak on a wood an staple vintage trailer... the damage will just keep going deeper until you have nothing left... at some point you need to just get it to a point that is satisfactory.
So this is where patching holes, grinding rust spots, filler primer and paint may be the ticket here. There are a few places that will cause me some grief, especially the rear spoiler sections... those will need to be rebuilt somehow. But filling smaller holes (Welding) and using some good old fashioned bondo may be the trick to get her done this summer. I would like to see a few coats of paint applied to her by September... we'll see.
I'll address the rest of the interior (seats and carpet) later this fall or winter... not on the immediate plans this summer. I do however want to get the new stereo, LCD, and inverter installed before the first camp trip... that should be pretty easy, for the most part. Shooting for mid to late August for the first camp trip, hopefully to the Oregon coast.
Thursday, June 30, 2011
Sunday, June 12, 2011
Cleaned up the front end a bit
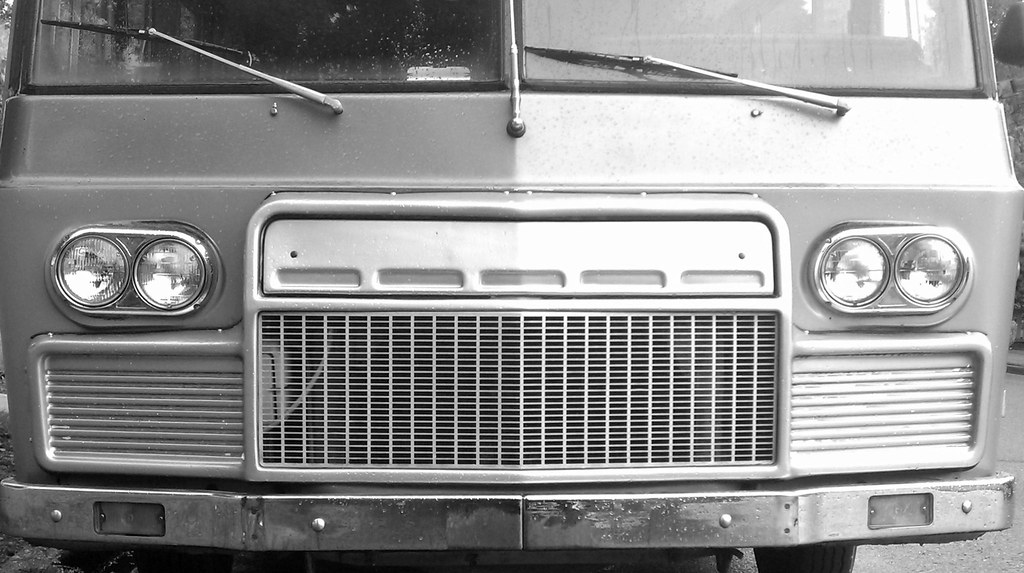
So looking at the front end of the coach, it needed a bit of fine tuning... so I removed the front license plate holder (not required to run one with the collector vehicle plates in Washington. This was welded on by DeGrazias in Seattle back in 1990, or so the receipt says. :) So I cut it off with a hacksaw.
Then looking at the bumper I thought it would look a bit nicer if it didn't have the vertical black bumper guards on there, sort of like a Euro bumper on a rabbit... yup, I was right. It looks better now.
Then looking at the bumper I thought it would look a bit nicer if it didn't have the vertical black bumper guards on there, sort of like a Euro bumper on a rabbit... yup, I was right. It looks better now.
Saturday, June 11, 2011
Yay, I can drive it safely now.
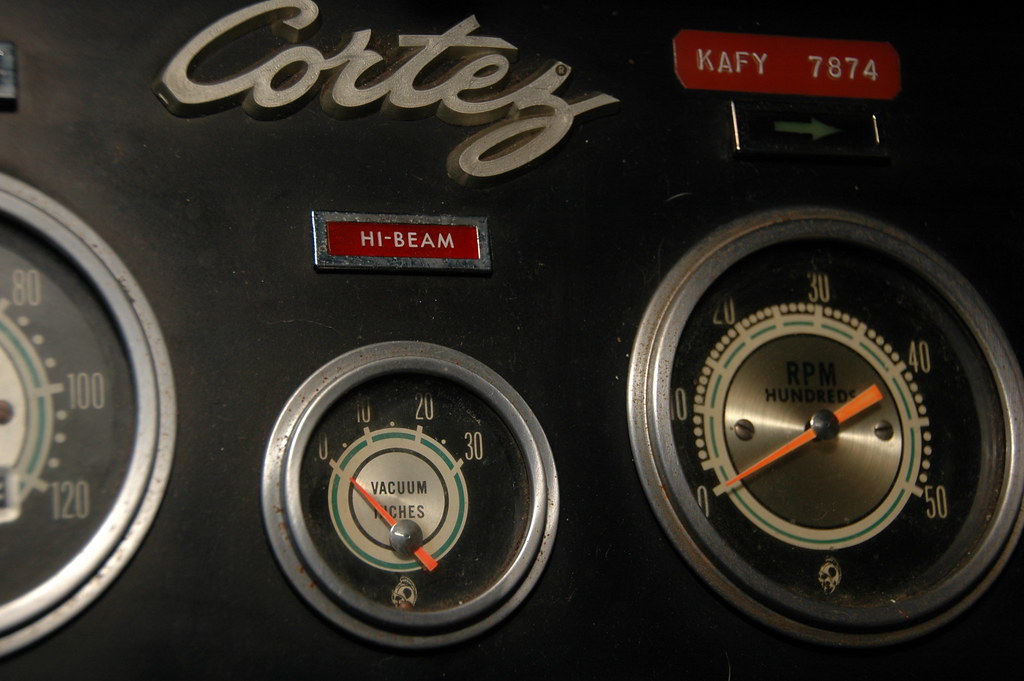
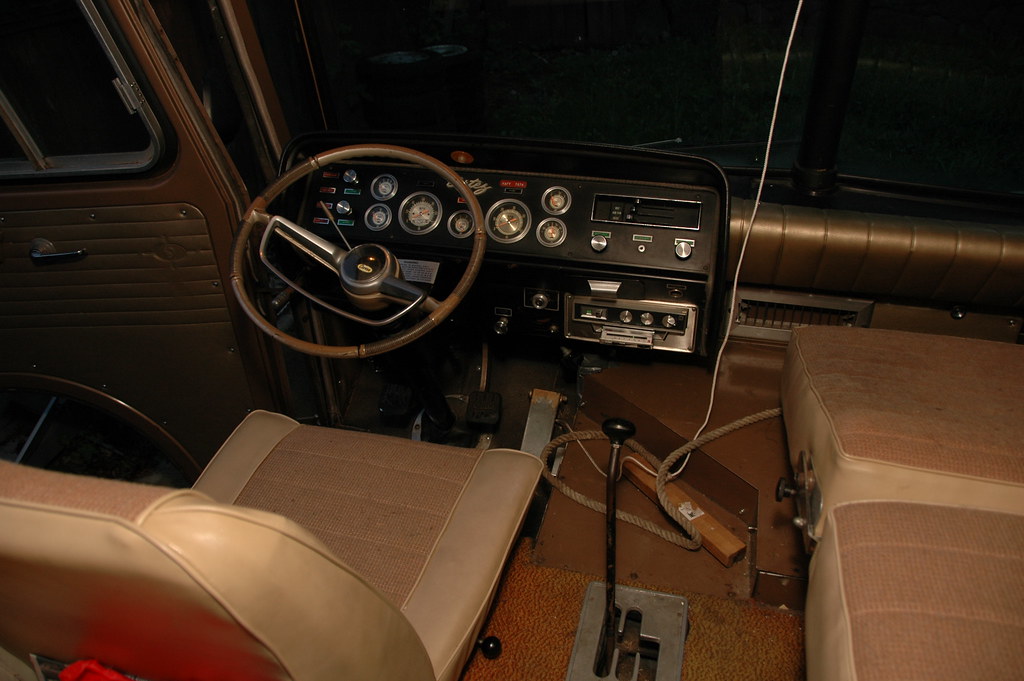
So today I fixed the throttle cable, the previous owner wasn't able to fix it so he tied a cord to the cable and pulled up on it when the cable stuck in full throttle position. Let's just say that was a very interesting way to drive... he referred to it as involuntary Cruise Control.
So I took the cable out, ran some WD40 and fresh motor oil down the line and twisted slide and moved around the cable until it slid freely. Also, this cable had these funnel shaped ends on it, and one had come off and was helping the cable to bind weird. So I was able to press that end back on, lube up all of the pedal arm assembly and re-installed the cable. Bingo, that did the trick alright. One less thing to worry about, and now it can actually go to Full Throttle, I was able to get it up to about 70 on the freeway instead of 55 like before.
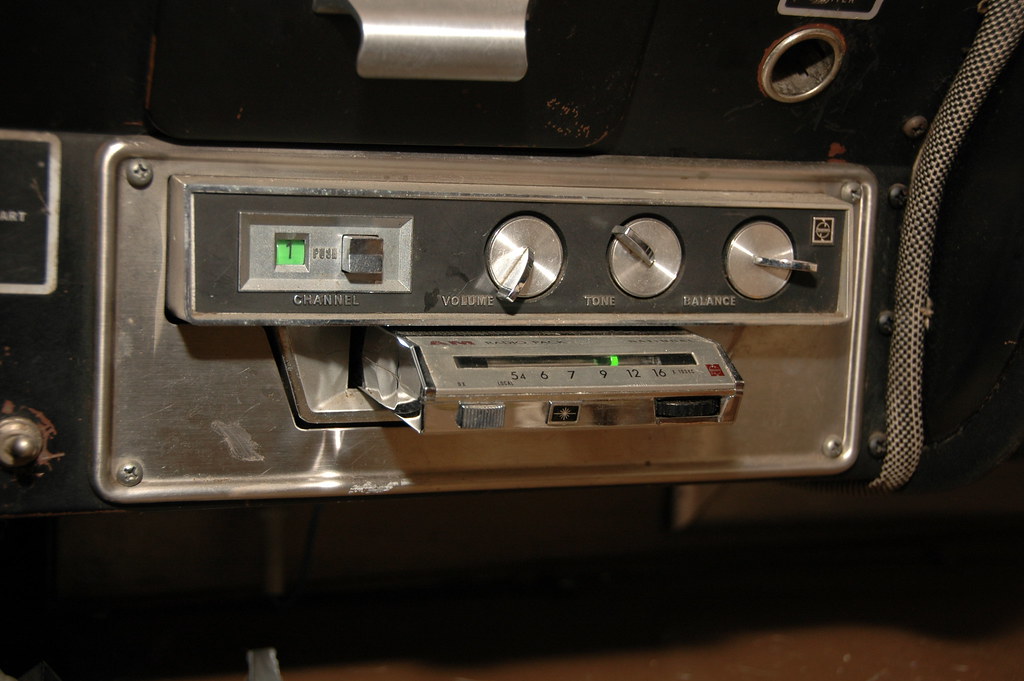
I did however notice while I was in there what the "throttle" cable was for on the dash, and why it doesn't seem to be working today. That cable is a way to warm up the engine. The Cortez does not have an automatic choke for the warm up phase, so this was in place to allow you to crack open the butterflies just a bit while the motor is warming up so it doesn't stall at the first stop light you come to... or 3 times while you are trying to start it cold. Found that out the hard way.
So I will need to fix that as well, it looks like a cable mechanism that simply attaches to the same arm from the pedal assembly (Where the throttle cable end attaches.) It should be fairly easy to fix, I just ran out of time to look at it today.
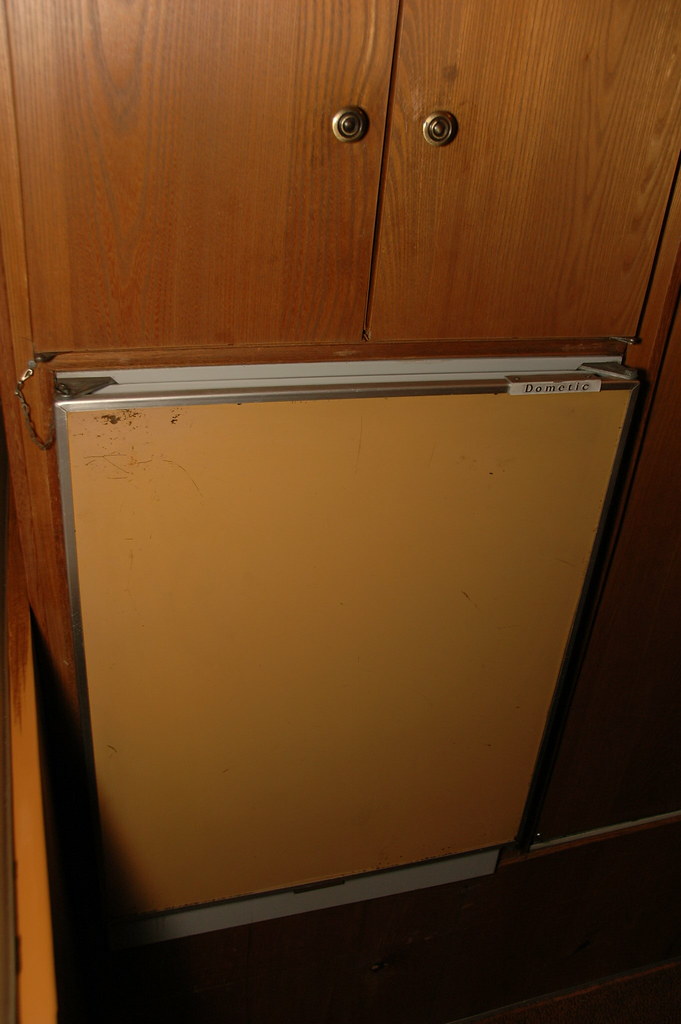
Next on the list is the water heater. I think I will finally get a chance to make and use my DIY instant water heater I ws going to build for the Aristocrat I have most of the parts already, in fact the Cortez came with one of the 1" copper elbows I needed... That's $10 less then I thought it would cost. ;)
So I took the cable out, ran some WD40 and fresh motor oil down the line and twisted slide and moved around the cable until it slid freely. Also, this cable had these funnel shaped ends on it, and one had come off and was helping the cable to bind weird. So I was able to press that end back on, lube up all of the pedal arm assembly and re-installed the cable. Bingo, that did the trick alright. One less thing to worry about, and now it can actually go to Full Throttle, I was able to get it up to about 70 on the freeway instead of 55 like before.
I did however notice while I was in there what the "throttle" cable was for on the dash, and why it doesn't seem to be working today. That cable is a way to warm up the engine. The Cortez does not have an automatic choke for the warm up phase, so this was in place to allow you to crack open the butterflies just a bit while the motor is warming up so it doesn't stall at the first stop light you come to... or 3 times while you are trying to start it cold. Found that out the hard way.
So I will need to fix that as well, it looks like a cable mechanism that simply attaches to the same arm from the pedal assembly (Where the throttle cable end attaches.) It should be fairly easy to fix, I just ran out of time to look at it today.
Next on the list is the water heater. I think I will finally get a chance to make and use my DIY instant water heater I ws going to build for the Aristocrat I have most of the parts already, in fact the Cortez came with one of the 1" copper elbows I needed... That's $10 less then I thought it would cost. ;)
Thursday, June 9, 2011
it's the little things that add up...
Okay, I know it's not a major thing, but I figured out how the support for the upper bunk worked... it had a Rope attached to the bracket, i thought that was a bit out of place. Sure enough after I removed the rope it was apparent the L shaped Chromoly bracket attached to the doghouse (engine cover) was supposed to attach to that bracket and voila! Now the bed works great like it should. Fantastic!
I wonder what will be next. :)
I wonder what will be next. :)

Wednesday, June 8, 2011
Traded the Barth for the Cortez I always wanted... :)
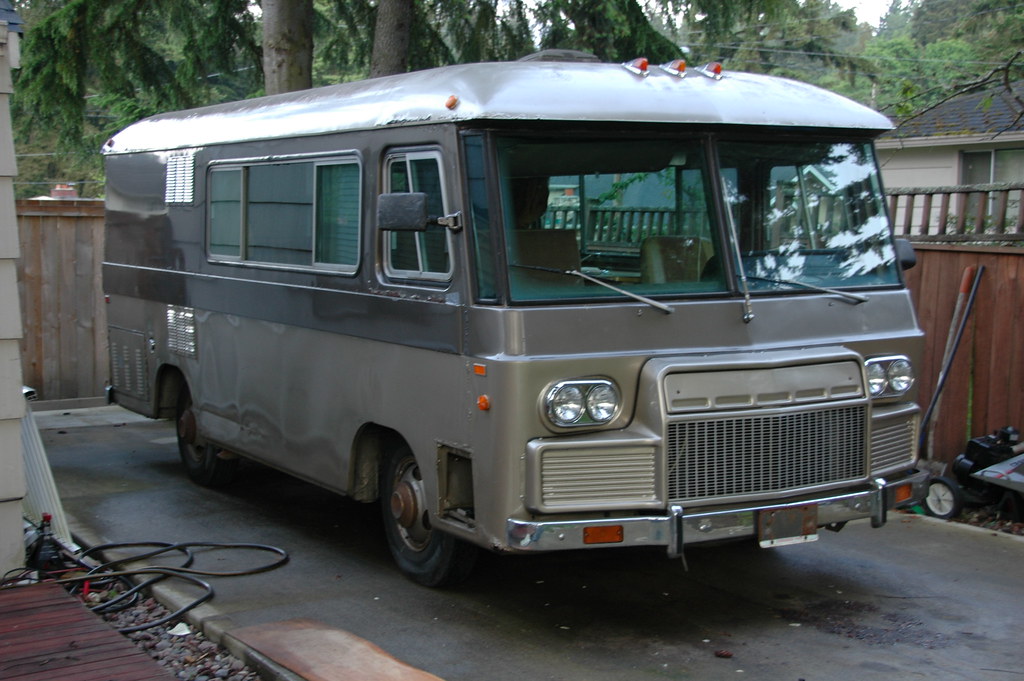
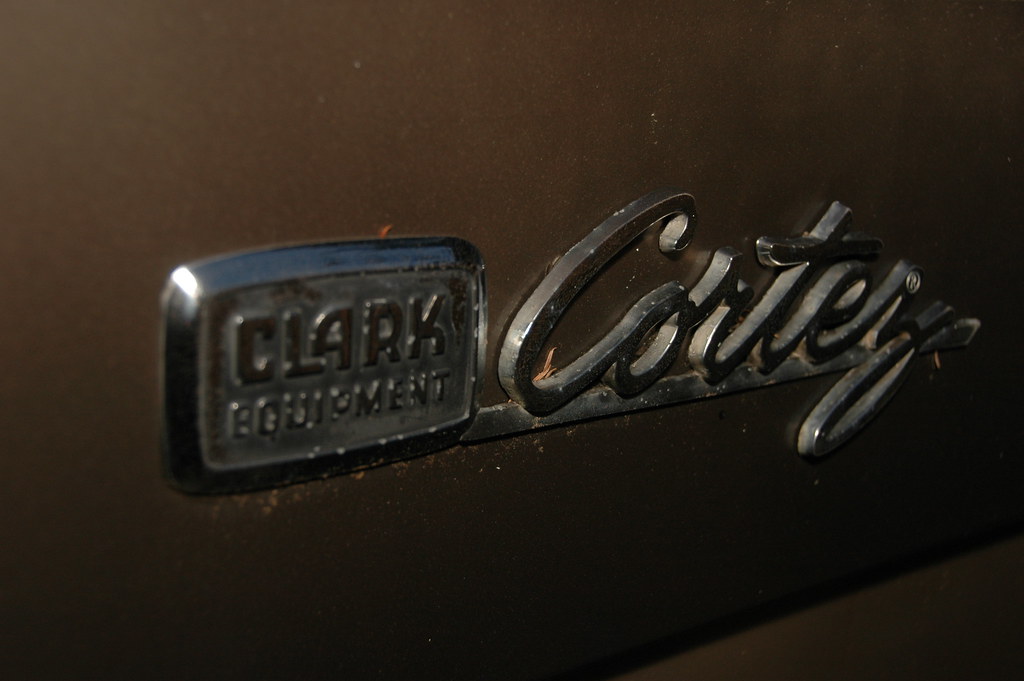
So last night I traded my 1973 Barth project for a 1969 Clark Cortez. I think it was a pretty fair swap all around, maybe I came out ahead in the deal... who knows, we'll revisit that again when I start removing and repairing the rust spots. :)
Subscribe to:
Posts (Atom)