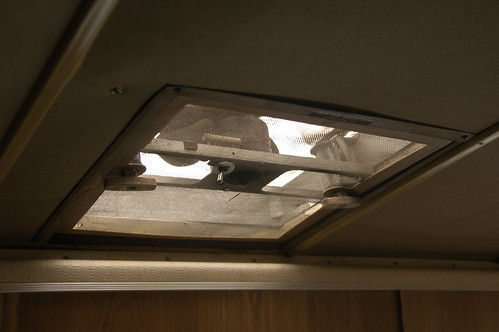
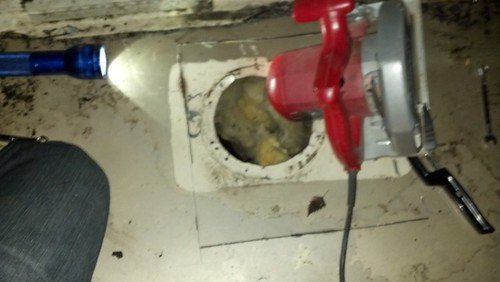
So I needed to replace the 6" round vent above the stove for two reasons, 1. It was Rusted solid and 2. It was leaking... (lucky for me I had the drawer with the pots and pans on top of the stove, so the leak went in a soup pot... not sure how that happened as good as it did.. but anyways... it was going to be replaced by the 2-speed fan I removed to install the AC last fall.
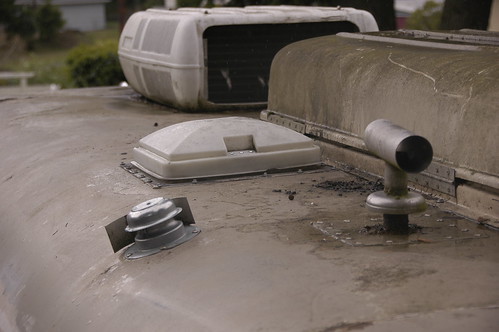
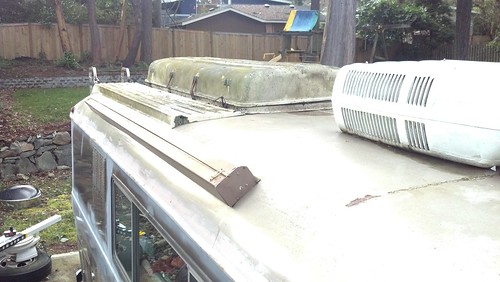
So, before I cut a hole I wanted to make sure a few other parts I bought wouldn't interfere with the placement of the fan. I was stuck between a few factors, the metal rib the ceiling trim mounted to on the forward side, the solid steel beam on the Port side, and the roof pod on the starboard side. So, I needed to install the roof pod first, right? Right.
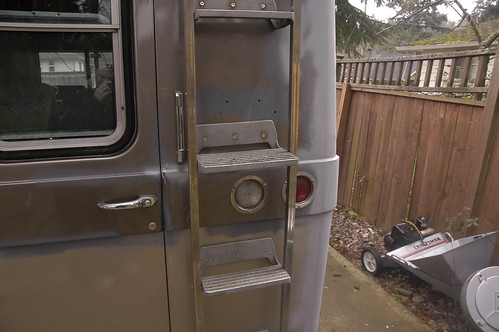
The roof pod had a dependency too... There is a platform that runs to the starboard side of it... and a ladder that attached to the aft of that.. so they all needed to be installed to make sure the other part fits too. So I estimated the platform, and screwed the ladder to the back of the platform and lined up the ladder to the rear with a couple of self-tapping screws. Then I drilled the holes for each step and installed the with stainless machine bolts and nuts.
Then once the ladder was installed and I lined up the platform and secured it down with self tapping poly sealing screws. Next I lined up the pod to the platform, and screwed that down too. Yay, the steps easily support my 220 pound self. Good enough for me! The ladder is not only mounted to the sheet metal but to the rails too.. so each step is actually being supported by 12 bolts, and steel. :)
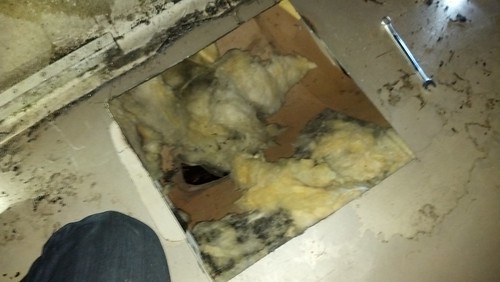
So then then the hole for the fan was able to be situated and... cut. Let me tell you, after trying to track down leaks (they come from ANYWHERE!!!) in the Aristocrat and the Barth, cutting a hole of any size is enough to give someone an anxiety attack. But away I cut with my skilsaw and some butyl putty tape and a handful of screws later... in went the new (old) fan. Now getting the ceiling panel cut to size and trimmed was a long ordeal... we'll just say it was a pain, but finally came together with the help of one 2" screw. :)
Okay, so that was Saturday.
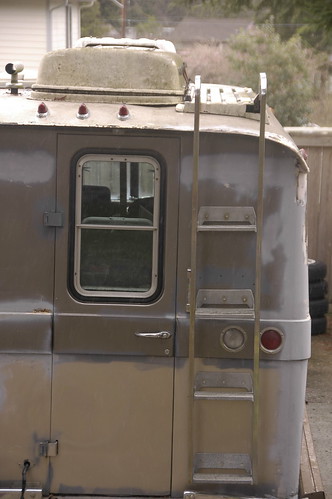
Sunday, I tried to install the closet doors but that didn't quite happen. Instead, Emerson and I installed the awning. (he stood on the rear ladder to tell me it was strait) and I mounted it not in the factory position. The Cortezes normally have the awning installed between the rain gutter and the window on the Starboard side... problem in my case was I'm 6'5" tall so I would have to duck every time I went under it... what a pain!. So I put it on the roof! :)

It's about 7" tall at the top. Perfect! I mounted the pole holders on the sides, put the poles together and up the awning went. Fantastic! So I can make a couple of ropes to keep tension on the awning poles in case of a windstorm.. I could also extend the poles to the ground and tie it down similar to the rope and pole awning from the Aristocrat. Hopefully I can get my dad to re-stitch me some new fabric... this one is okay but has seen better days for the past 44 years. :)


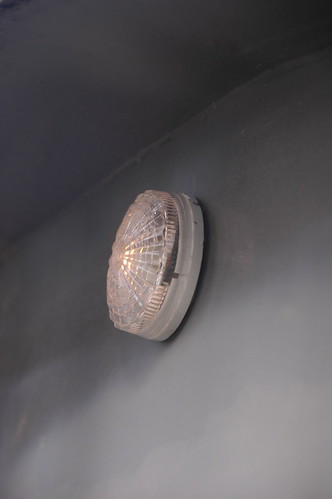
Okay... so last but not least... while I had the rear closet panel out and I could see into the wall, I thought this was a good time to install the porch light I wanted. So I put the clear starburst light up and wired it in with a switch.