Sunday, July 8, 2012

Drain Dilemma

So I got this idea because we camp at spots in local private, state and federal campgrounds that may have only water and electricity (no sewer) or dry camping where I can't just dump the grey water (Parking lots at car shows, etc) and the way the 69 is set up makes this very difficult. 

So in these cases, they are typically 1-2 nights tops, so we are not in danger of filling the black tank, (and if we did we could always dump it at the trailer dump). So I'm thinking about re-routing the grey water drains from both sinks right after they meet back in the bathroom, and re-routing it down the black tank vent instead of where it goes today to the grey water bypass just after the black tank valve.

I realize it's only a 20 Gallon tank, I'm okay with the size... we typically on a weekend trip only use 12 gallons of water at the sinks (I empty a 6 gallon gas/kerosene tank twice) and the black tank is never that full (as there are typically restrooms on site too). I have a brand new, modern valve on the black tank (not worried about the soaps destroying the seals)... give me reasons this is not a good idea? Why would this not work like I think it will?

The Barth I had before this had a single 40 Gallon tank in the rear that took both black and grey water in one place... seemed to work fine for them.

Also, keep in mind, I do not have the shower hooked up right now (supply lines), and even with this conversion if I choose to hook that back up again, the shower drain will continue to be hooked up to the same grey water bypass. That won't change with either option...

What I plan to do: 
Option 1, leave the ability to use the bypass for sinks too. Cut the 2.25" drain line just after the "Y" where the bathroom trap drains into it. Install a new "Y" in it's place that routes over to the black stack vent line 3" to the left of the grey vent line. I would install 2 ball valves, one in place where the current connection runs to to the grey stack, and one on the new run to the black stack. This will allow me to choose which line I will use.

Option 2, permanently run to Black line and cap the old grey drain line on the stack.. This will be much simpler and cost effective. Just install a 45* bend after the cut, route to new y on the black stack, done.

Keep in mind, these two stacks merge into one, and join the stack from the kitchen sink before going up to a single shared vent up on the roof. So mixing the grey and black stacks will not cause additional odors, both sink lines are trapped at the source. 

Thought and opinions?
Wednesday, June 13, 2012

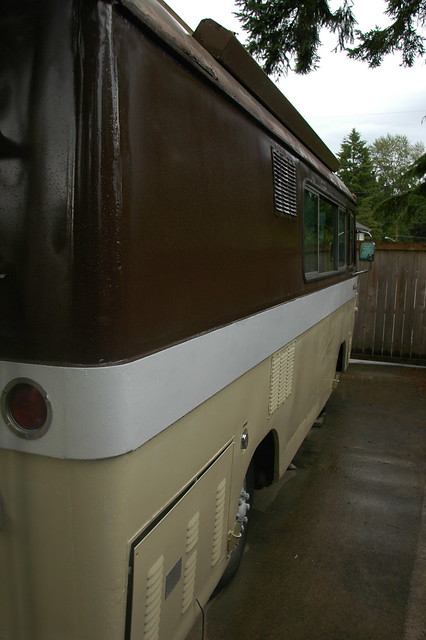
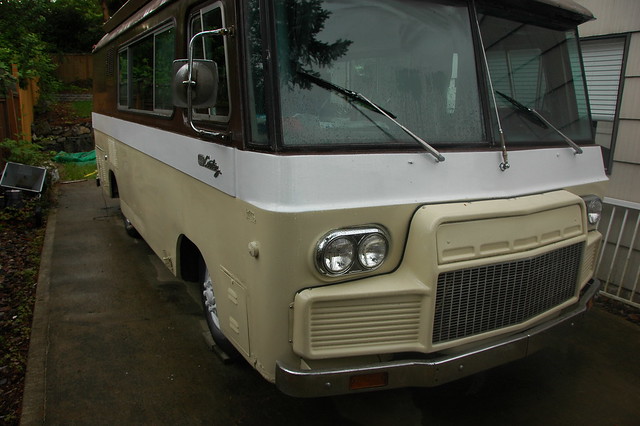
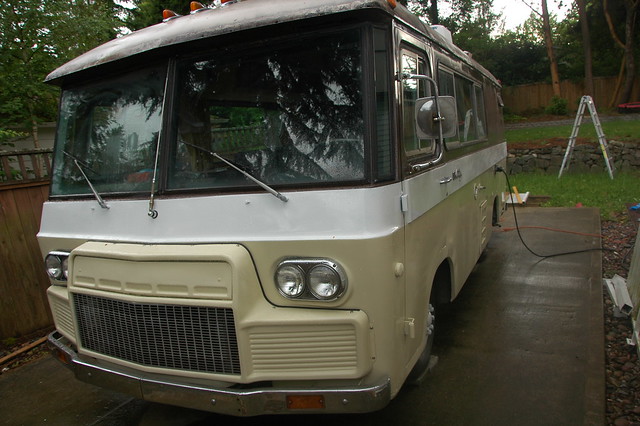
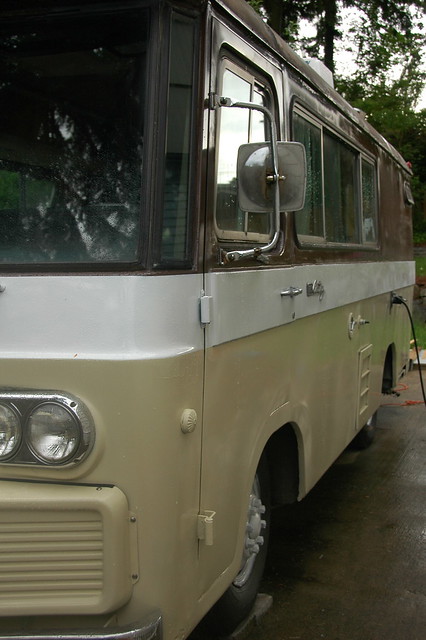
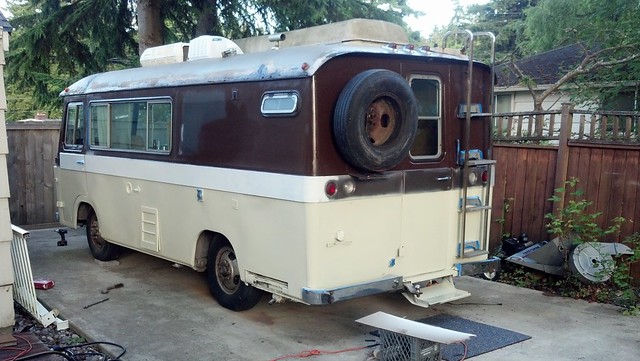
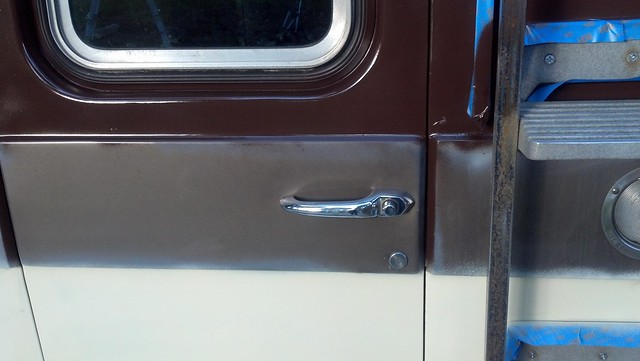
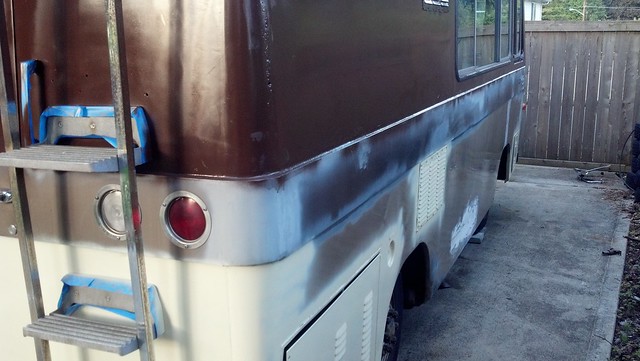
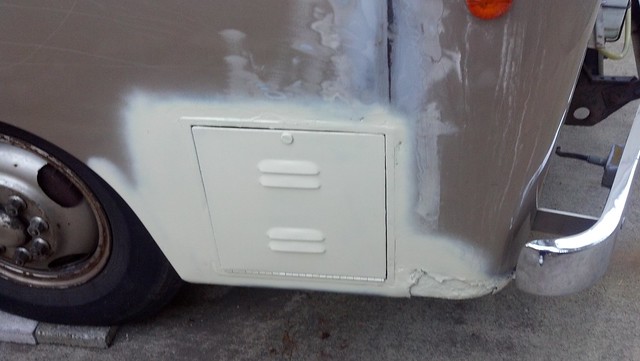
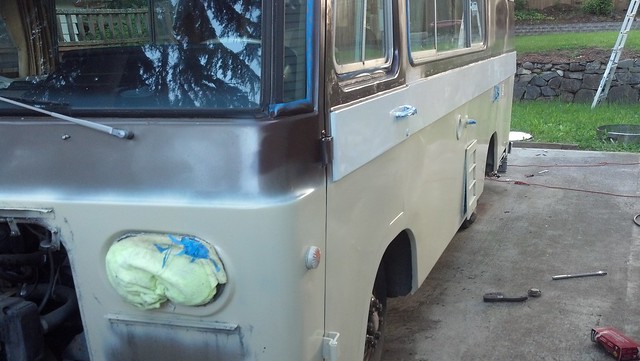
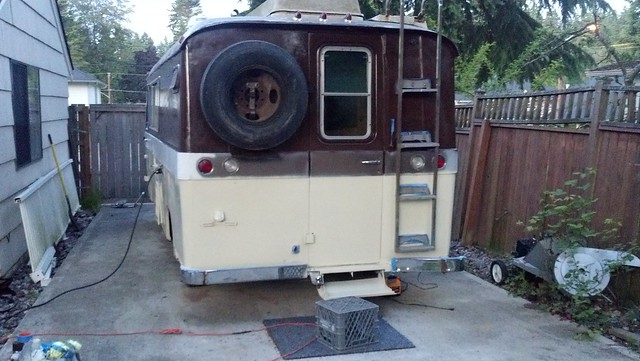
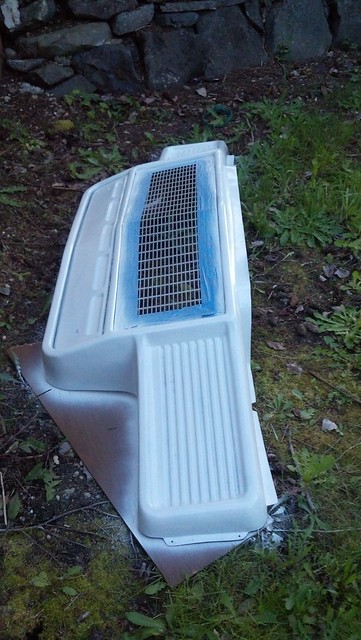
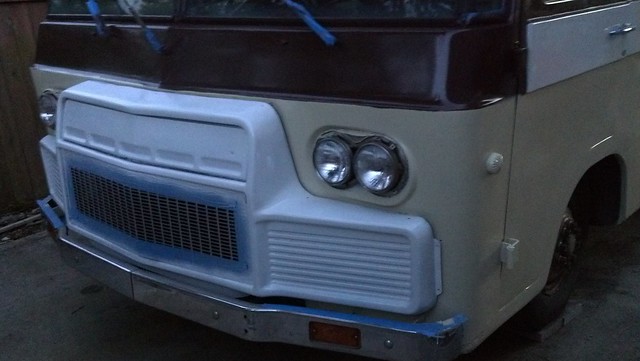
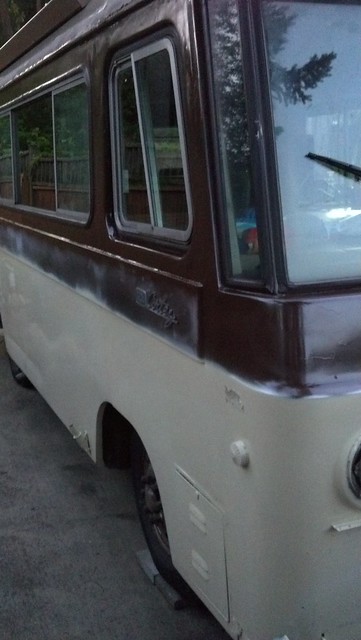
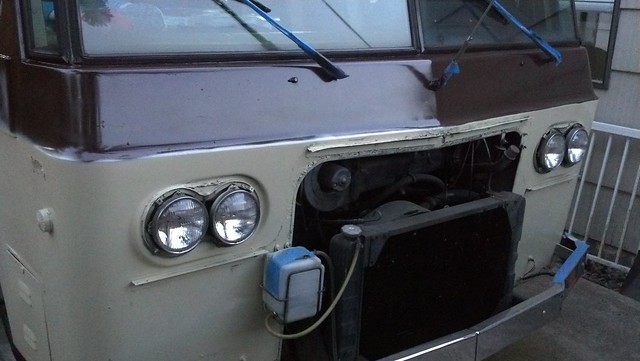
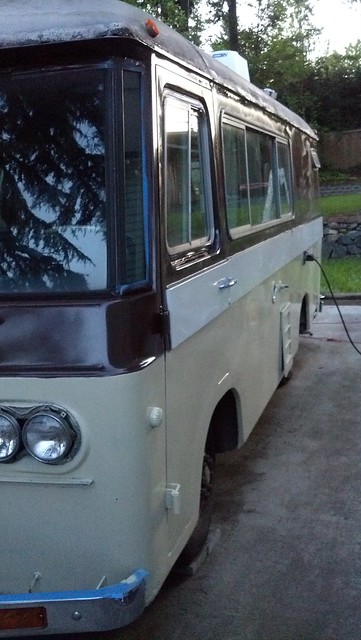
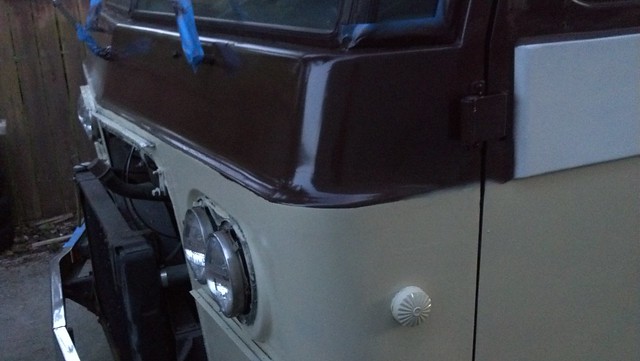
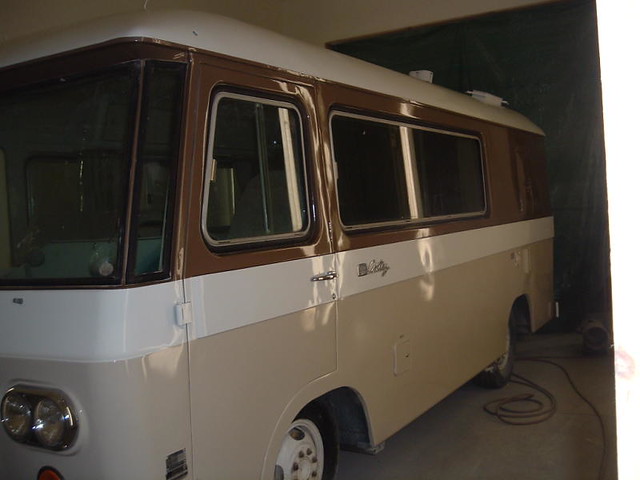
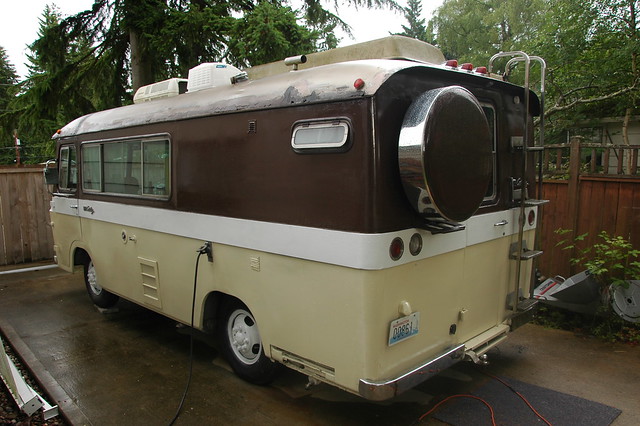
Well, instead of just sitting there and wishing for a new paint job on the old girl, I decided to do something about it... after going round and round about color choices and paint schemes I decided to go back to the original "early Cortez" scheme with the tri-color (dark over light brown with the white belt line and roof.) Now, the roof is NO where near ready for paint quite yet, the rest of the body was just about ready so I went ahead and put some paint on the old girl last Sunday.

I went simple, and easily supplied Rustolium Professional Enamel, in spray cans in Dark Brown, Ivory and Gloss White. All three are available at just about any home improvement warehouse out there, so as the rust returns (as I know it will) I can sand and repaint to match perfectly at any time. Touchup paint is pre-mixed and easy cleanup in the Rattlecans. Done and done.

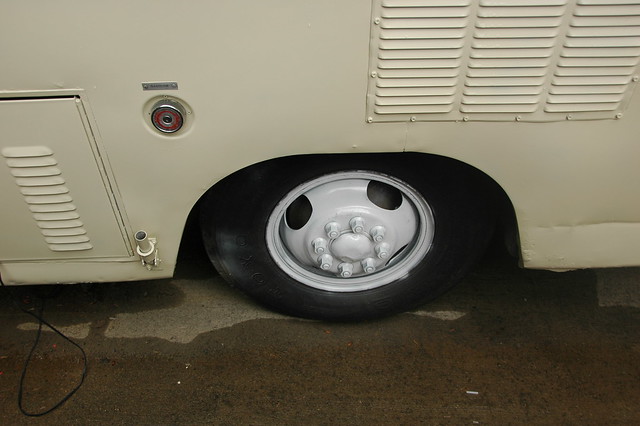
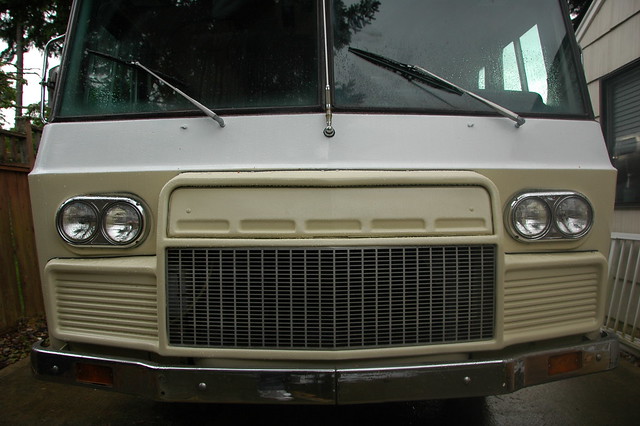
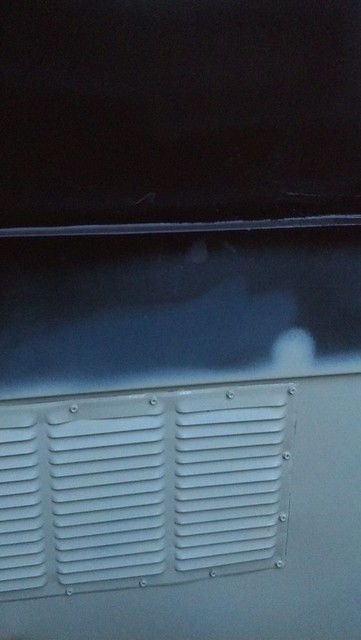
So it's not entirely done yet, I ran out of white as teh night approached on Sunday night before I flew to New York for the week... so this is where it sits today: (I painted the wheels white after I took these pictures, the Wheel cover is Dark Brown to match the upper body.)


2012-06-10_19-58-55_851 2012-06-10_19-59-09_469 2012-06-10_19-59-22_702 2012-06-10_19-59-38_860 2012-06-10_19-59-45_961 This is going to change a bit... I'll keep the dark brown up by the windshield, then wrap the white around the front and meet the Ivory at the body line. 2012-06-10_20-00-07_657 ran out of white... 2012-06-10_21-14-02_524 this was repainted Ivory instead... didn't like it white after all when it was mocked up in position.. 2012-06-10_21-14-13_449 yea, not digging the bright white on the grill. The 63-68 had a much smaller grill so it worked better.. on the 69 Deluxe it was just too much, went with the Ivory instead for the 2nd coat. 2012-06-10_21-19-57_447 2012-06-10_21-14-29_417 2012-06-10_21-14-41_14 2012-06-10_21-14-54_238 2012-06-10_21-15-10_459 2012-06-10_21-15-36_807
Again, white will wrap around the front too. 2012-06-10_21-16-19_31 One more coat should do it over here 2012-06-10_21-16-24_942 and the inspiration for the paint scheme: Original Paint Scheme

Tuesday, May 29, 2012

So, I added a push button electric starter on both the 3 burner Magic Chef and the original Dometic 2 way fridge today. I went for an over-nighter this weekend and was fed up with how I needed to light the fridge.. with a long wood match taped to a coat hanger. Not the safest, but it was all that worked being the twist sparker no longer did the job. Previous owners gave me the idea with a coat hander bent in a spiral at the end to hold standard wooden matches... moving on.

 I had a really cool push button electric starter on a BBQ a few years back and thought that might be a good way to go. This is a spark generator powered by a single AA battery, not the single spark Piezio type lighters you find on most BBQs. So where to get them? Walmart of course. You get 3 per package, complete with battery and all for $17. They give you two types of lighters, you will only use the "universal" lighters. there are 2 of those per pack. http://www.walmart.com/ip/Backyard-Grill-Electronic-Ingnitor-Kit/19581268

 I did the fridge first, took off the outside lower vent and the windscreen to get to the burner, drilled a hole in the rear assembly (Although, I could have used the one that was already there) made a quick mount out of 1/8 plywood for the spark generator up front, ran the ground, adjusted the lighter and presto! Super easy to light now, just turn on the gas, hold the gas button for 15 seconds and pop pop pop it lights. :-)

 The stove was a bit harder... after I got them all installed and adjusted (Drilled a screw into the burner mounts to install the lighters) I realized the top was also a ground too, so they had to be just about perfect to be far enough away from the burner to create a hot enough spark, but close enough to the burner to not arc to the stovetop. Few hours later, the stove is super easy to light now too.. now yes, it's just as easy to use a stick lighter.. but this was fun. :)

Monday, February 27, 2012

Getting work done again... putting on the parts I bought in December FINALLY! :)

So I test fit all my parts to make sure everything fit right before I started cutting holes in the roof.. a 14" by 14" hole is a big commitment so I needed to make sure everything fits nicely... and it couldn't have been any closer!

_DSC9565

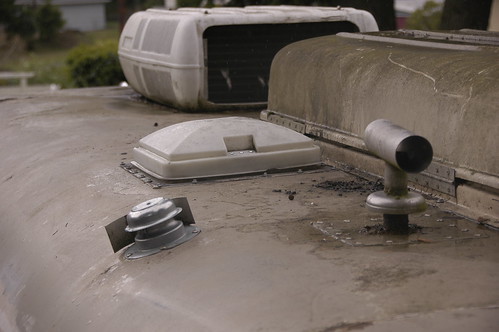
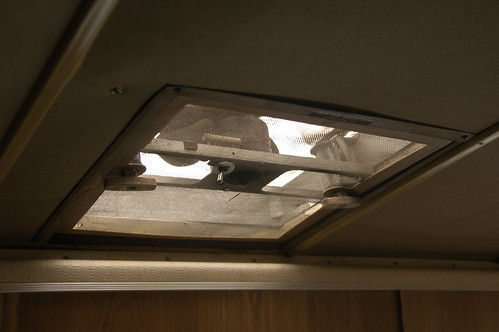
So I needed to replace the 6" round vent above the stove for two reasons, 1. It was Rusted solid and 2. It was leaking... (lucky for me I had the drawer with the pots and pans on top of the stove, so the leak went in a soup pot... not sure how that happened as good as it did.. but anyways... it was going to be replaced by the 2-speed fan I removed to install the AC last fall.

_DSC9577

So, before I cut a hole I wanted to make sure a few other parts I bought wouldn't interfere with the placement of the fan. I was stuck between a few factors, the metal rib the ceiling trim mounted to on the forward side, the solid steel beam on the Port side, and the roof pod on the starboard side. So, I needed to install the roof pod first, right? Right.

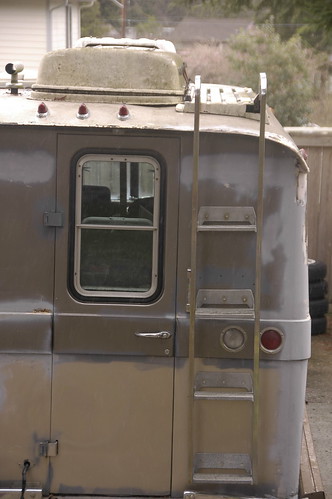
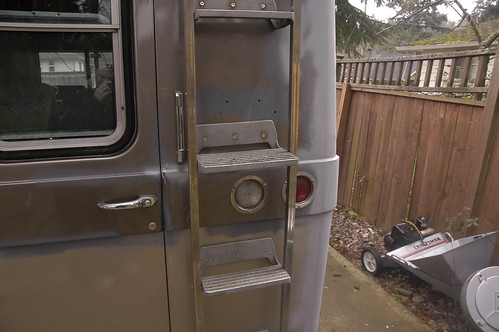
The roof pod had a dependency too... There is a platform that runs to the starboard side of it... and a ladder that attached to the aft of that.. so they all needed to be installed to make sure the other part fits too. So I estimated the platform, and screwed the ladder to the back of the platform and lined up the ladder to the rear with a couple of self-tapping screws. Then I drilled the holes for each step and installed the with stainless machine bolts and nuts.

_DSC9569

Then once the ladder was installed and I lined up the platform and secured it down with self tapping poly sealing screws. Next I lined up the pod to the platform, and screwed that down too. Yay, the steps easily support my 220 pound self. Good enough for me! The ladder is not only mounted to the sheet metal but to the rails too.. so each step is actually being supported by 12 bolts, and steel. :)

_DSC9562

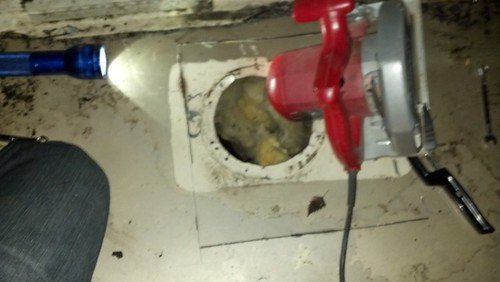
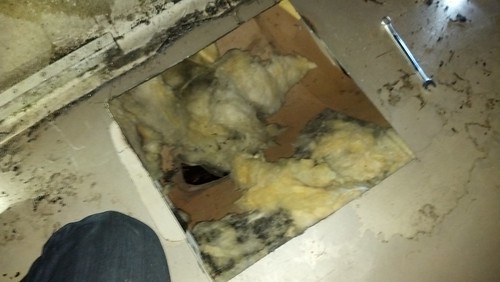
So then then the hole for the fan was able to be situated and... cut. Let me tell you, after trying to track down leaks (they come from ANYWHERE!!!) in the Aristocrat and the Barth, cutting a hole of any size is enough to give someone an anxiety attack. But away I cut with my skilsaw and some butyl putty tape and a handful of screws later... in went the new (old) fan. Now getting the ceiling panel cut to size and trimmed was a long ordeal... we'll just say it was a pain, but finally came together with the help of one 2" screw. :)

Default title upload by motoblur

Default title upload by motoblur

Okay, so that was Saturday.

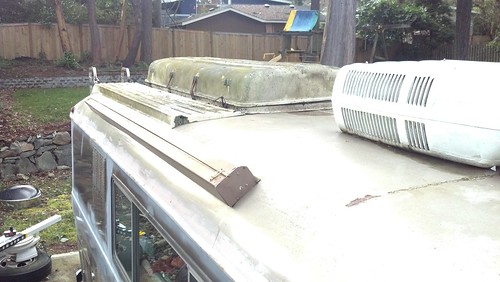
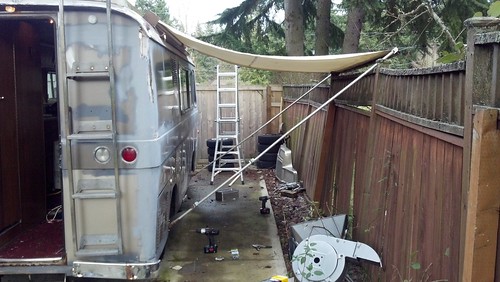
Sunday, I tried to install the closet doors but that didn't quite happen. Instead, Emerson and I installed the awning. (he stood on the rear ladder to tell me it was strait) and I mounted it not in the factory position. The Cortezes normally have the awning installed between the rain gutter and the window on the Starboard side... problem in my case was I'm 6'5" tall so I would have to duck every time I went under it... what a pain!. So I put it on the roof! :)

Default title upload by motoblur

Default title upload by motoblur

It's about 7" tall at the top. Perfect! I mounted the pole holders on the sides, put the poles together and up the awning went. Fantastic! So I can make a couple of ropes to keep tension on the awning poles in case of a windstorm.. I could also extend the poles to the ground and tie it down similar to the rope and pole awning from the Aristocrat. Hopefully I can get my dad to re-stitch me some new fabric... this one is okay but has seen better days for the past 44 years. :)

Default title upload by motoblur

Default title upload by motoblur

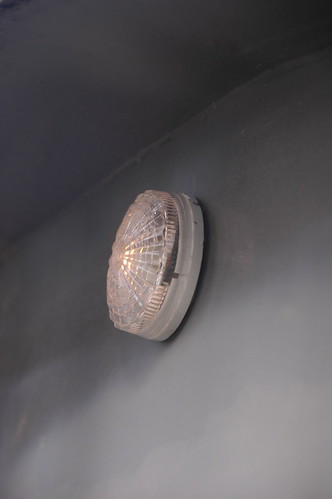
Okay... so last but not least... while I had the rear closet panel out and I could see into the wall, I thought this was a good time to install the porch light I wanted. So I put the clear starburst light up and wired it in with a switch.

_DSC9590

_DSC9592