Wednesday, September 28, 2011

Some Paint Ideas...

it's never to early to start thinking about paint schemes... the 69 Cortez was unique in many ways, but the paint scheme they used in 69 left a lot to be desired... here is an example of an original 1969 Clark Cortez... This is how mine originally left the factory as evident with doorjambs and the like...

n_a (2)

n_a (1)

n_a - Copy

Looks good, but why they chose that contrasting, (not even in the same color family) grill color... I will never know.

The earlier Clark Cortezes (63-68) had a very cool color scheme too, but being that they painted a large percentage of them just... exactly... like... this from the factory, I have decided to not "blend in" with the rest of them like my original plans to paint it like this. But here is a nice example of the earlier Clark paint:

Original Paint Scheme

So, I came across this one, also a 69, named the "Alaskan LaBomba" and it was painted in Aluminum/Silver and I really liked the simplicity of it.

n_a (5)

And, for those who watched my 66 Aristocrat rebuild know I love red when it comes to Vintage trailers/RVs, so it won't be a super shock when this one caught my eye as well:

n_a (7)

n_a (6)

n_a (8)

n_a (9)

So I decided to take a version of the Alaskan LaBomba, and switch up the placement of the red paint to be on top... and keep that center band white (I like the way it breaks up the colors, going back to the original early Clarks above) and played around with a few variations as it has to do with the front end.

Do I split the red and silver just bellow the side window like this:

Paint Scheme3

Or, do I wrap the white around the front like I've seen on some of the tri-color Clark jobs?

Paint Scheme

or do I bring the Red down to meet the lower body line to bring a bit more color to the front end?

Paint Scheme2

I'm sure I'll change my mind a few more times before paint ever hits the Coach... but figured I'd toss a few options out there, to organize my thoughts a bit.

Monday, September 26, 2011

Doing Body Work finally..

Well with everything else pretty much sorted, now it's time to get to the body work. So this all got jump-started when my 4 year old decided he was going to drag a magnetic tool retriever thing back and forth along the side of the coach... can't be mad, I think it was almost an improvement to the paint job (he knocked a bit of rust off).

So we grabbed a few screwdrivers and went to work popping all of the little rust bubbles... EVERYWHERE!!

DSC_7342

DSC_7344

They were on the belt line, above and below. Below the gutter, in the gutter, above the gutter. Down every body panel seam. under the front and rear spoilers... along the bottom. You name it, there was rust bubbles. I'll be smoothing out every one of these damn seams... just one more place for water to get under the paint and make rust bubbles.

Then I pulled out the 4" grinder and a flap disk and went to town on the spots that were a lot worse. It's really bad when some spots you can poke your finger through it... basically the paint was holding the rust together, barely.

DSC_7314

DSC_7317

so I started in on the LONG LONG project of removing all of the rust areas, and filling in the rough spots to get this baby ready for paint in the spring. I'm not even going to try to get it painted this year... too much to do. But I did bet Rodney it will all be back together with paint by next year's Lynden Rally (Sept). I hope it will be much sooner then that!

Here are some progress pics. I'm learning as I go with body filler and stuff... just shooting for a somewhat rust free, smoothish surface that will drain the rain off easier. After scraping and grinding I shot all the bare metal with a quick coat of primer, for nothing else to keep it from rusting again. It's been raining a bit and VERY humid, so trying to keep the rust at bay.

DSC_7293

DSC_7302

DSC_7313

DSC_7319

DSC_7334

DSC_7335

The rear door is almost 100% rust free... the trim strip was welded on correctly, with an angle to sweep the water away. The panel just next to that you can see is angled BACK towards the coach... gee.... I wonder why almost all of the beltline had rust?! I am going to probably modify a few things... one will be to create a jig to shape the bondo at the right angle to allow the water to run off better, the second may be to eliminate the gutters completely or fill them in and smoothe them into the roof.

DSC_7347

I will be resealing the roof with a one-coat rubber roof of some sort... we'll get to that later, but for now those gutters are causing some issues and need to be dealt with... in the form of eliminating the water to be able to sit in them, period. Like I said this will either be to fill them and smooth the angle into the roof, or just plain cut them off.

See, I have to rebuild for the most part both the front and rear spoilers due the the excessive amounts of RUST RUST RUST. So, do I want to try to re-engineer them? That may be my only hope here...

I could weld (or Rivet) pieces of Aluminum in place to do the same job, or just use Bondo. I wouldn't have used bondo if I hadn't found a shit ton of it already form the last paint job in 1990. So more bondo we go. Just looking for a smooth finish, and realize I'll probably need to do more rust repairs in the next few years, as I'm not about to take on a full strip down of the interior in order to remove and replace the rusty panels. See the walls and ceilings have insulation in them, so for most areas if I were to try to weld, i might end up catching the whole thing on fire.. so burned to the ground or bondo on the panels? You got it.

I'll try to post up a few more pics along the way as the work progresses...

That heater? I can't keep it lit... so I might need a new thermocouple ($17 or so) not too bad... but it may need to wait a bit.

Monday, September 19, 2011

Picked up a new heater, Almost Free!

Just grabbed an older Olympian 3100 (Wave 3) off the local craigslist for $10!! hehehe... I wasn't going to stand around and test it for $10, but the piezo starter still sparks great, and he said "it worked the last time he used it" which of course is as silly as "you always find your lost item in the last place you look for it". duh. My glass held water the last time I drank from it... before I dropped it.. get it?

Oh well... we all love pics so here you go... I'll powder coat this to match my appliances if I redo them.. it needs some restoration/sprucing up... but for now it matches my RV juuuuuust fine. :)

IMAG1701

Cleaned her up a bit... and I ended up with this charmer. :)

IMAG1702

IMAG1703

IMAG1704

Thursday, September 8, 2011

Busy past few weeks

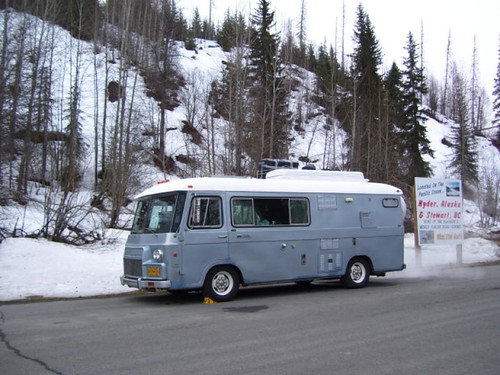
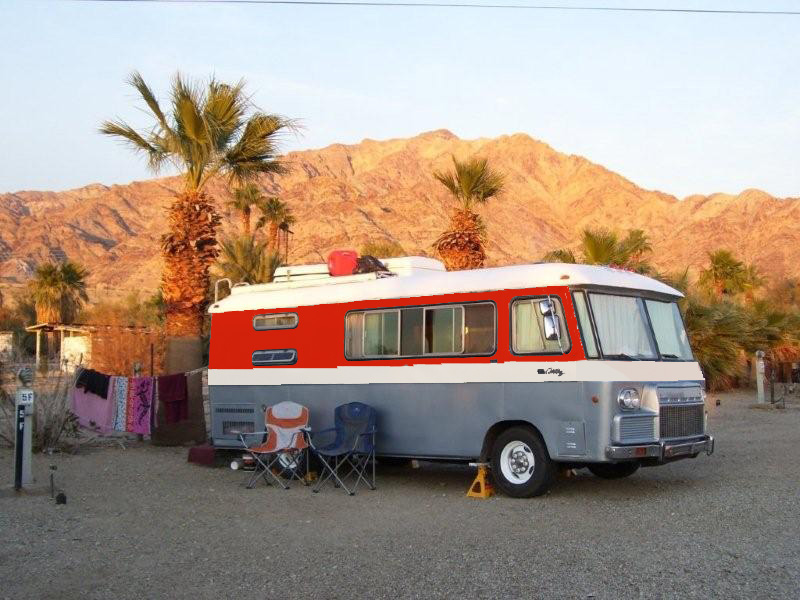
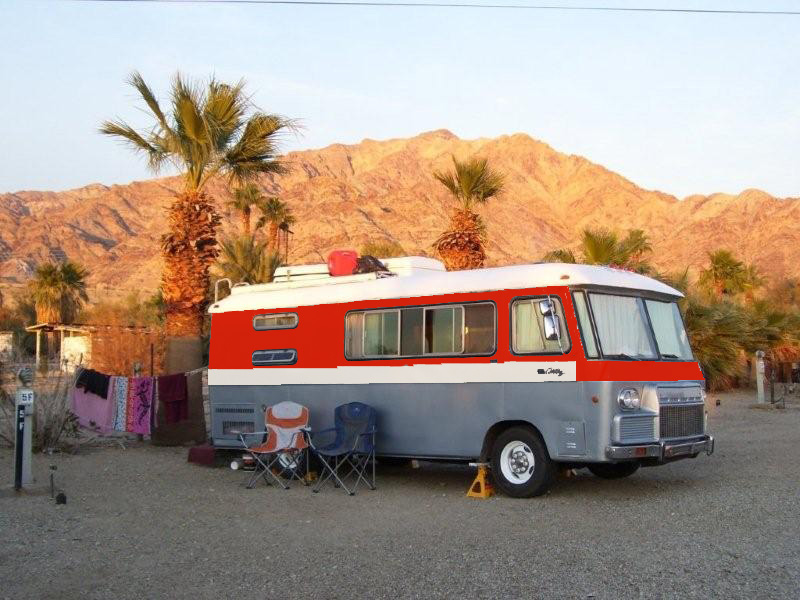
So here I think I am having battery charging issues, jumping the old girl every time she won't start... sometimes as bad as a single click when turning the key. This problem reared it's ugly head just before the Lake Wenatchee SP trip, so I brought along my charger as it seemed a freshly charged battery seemed to have the gumption to turn her over. I swapped batteries around thinking that was the problem... nope.

Figured out if I pushed the coil arm forward I could get it to start, so I wanted to try one more short trip to see if the battery would hold up on it's own. So I went for an over-nighter with my Brother to Lake Easton SP, just up and over the pass... well if it didn't start there either.. finally got her started and headed for home... only to run out of gas 2 miles from home. Poop.

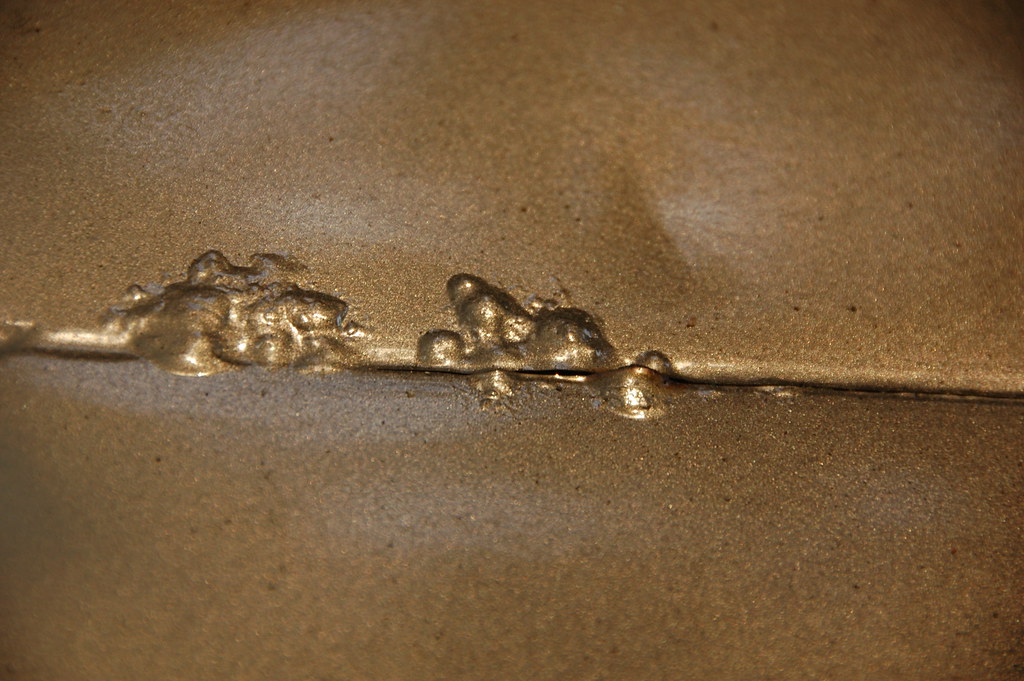
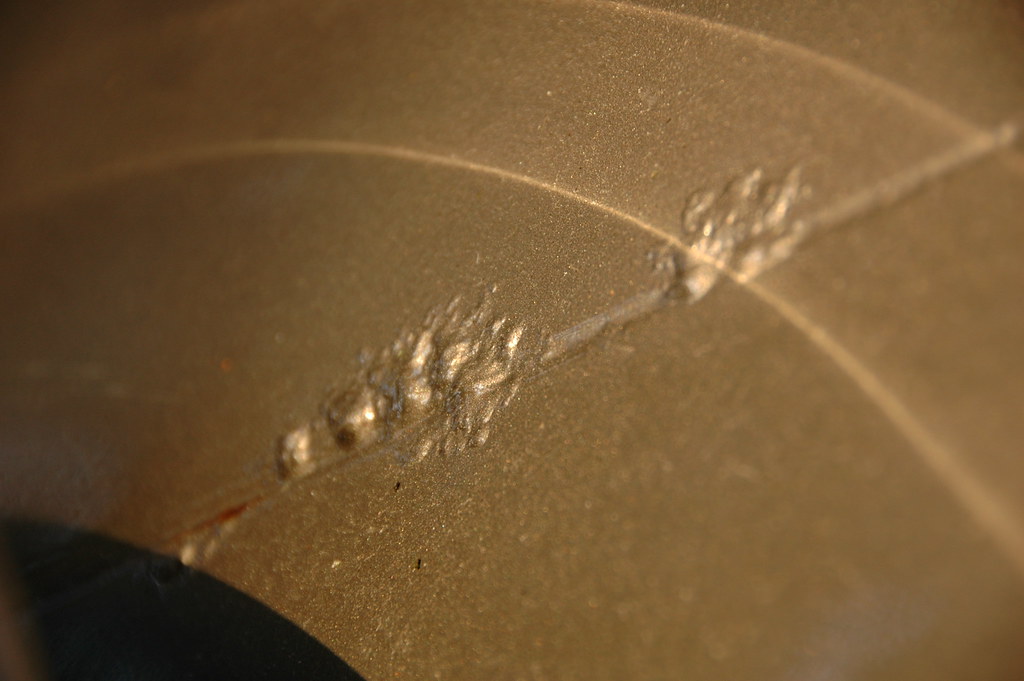
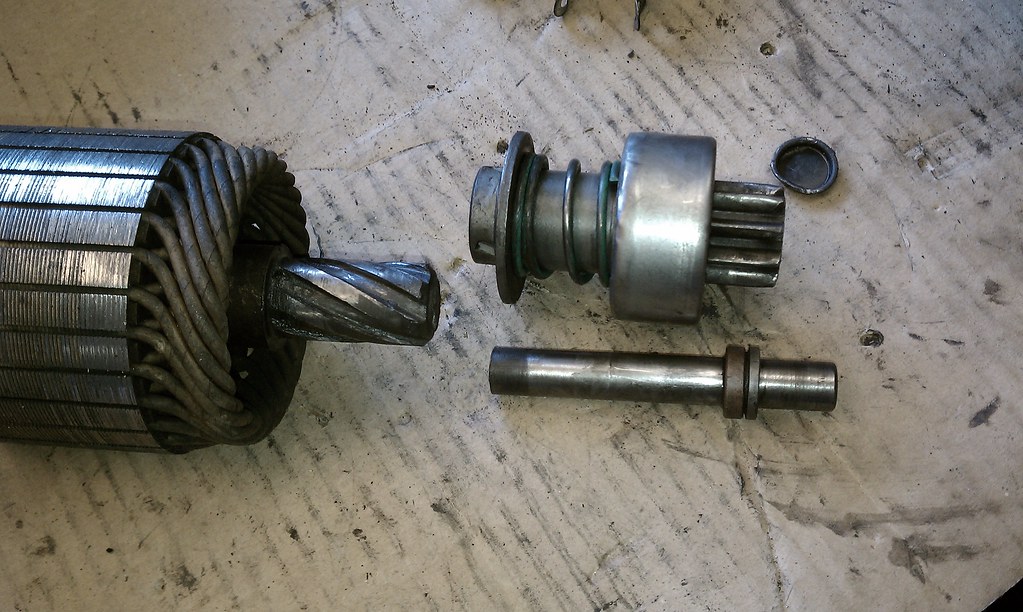
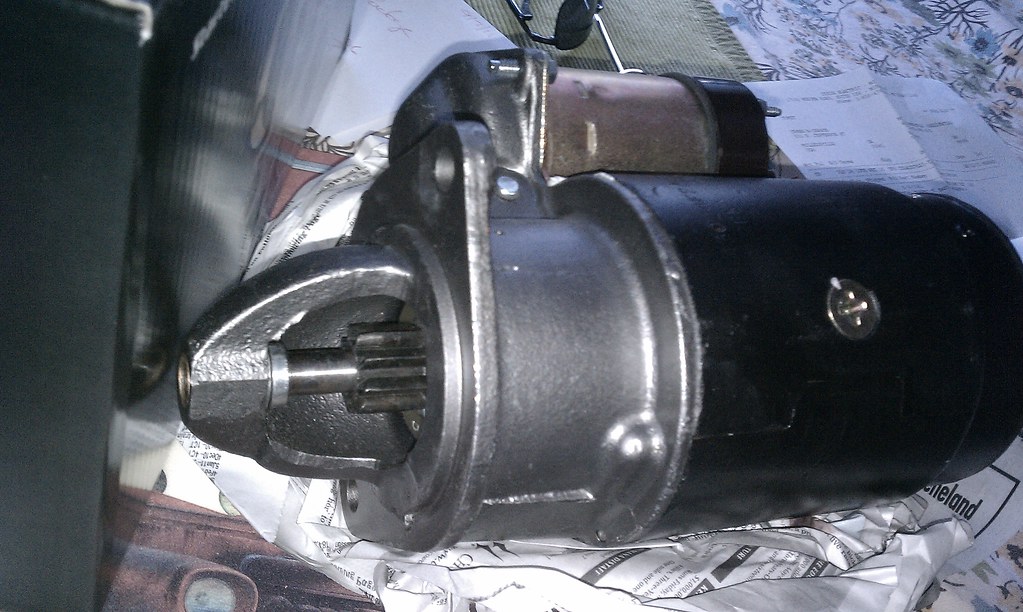
Got some Gas from my other brother, got it started and got her home just in time to get showered and head out the door to a wedding. Sunday Morning I pulled the old starter down and drove to my Dad's shop to tear it apart to see what was up... we thought it was a corroded washer for the post contacts... well yes that was corroded for sure, but that wasn't the real problem... the armature was snapped in half, and it looked to be that way for quite some time based on the rounding off at the break point.

Okay, I'll just get a new armature and replace it, right? Nope. They stopped making those about 20 years ago. Then I'll just get mine fixed right, nope. I was turned down at several machine shops as it would take them several hours to lathe out the inside to try to either press fit a pin inside to fix the break, or turn it to insert a new 1/2 in rod. Either way the outlook didn't look good for my old starter, so I should look to see if I could find a replacement. How about ebay?

I scoured ebay for days looking at hundreds of possible fits, only to be shut down time and time again. Hole was too big or too small... mounting holes were too close and too far. Bendix was the wrong size, too many or too little teeth... nothing was right.

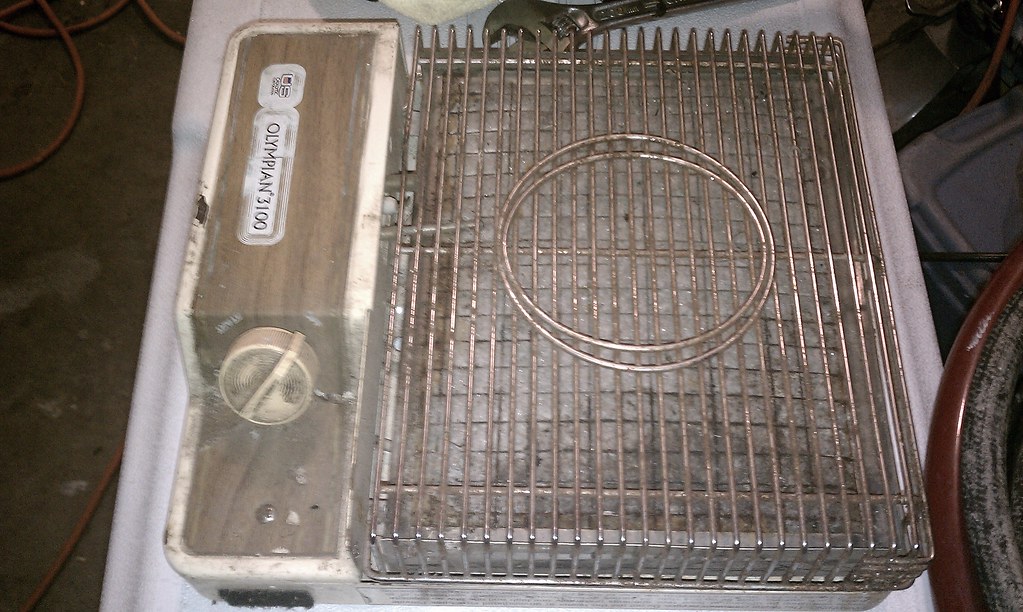
See the problem I was running into here was this starter as far as I can tell was specifically made for only the 1969 Clark Cortez with a 4sp Clark gearbox and the Ford 302. Period. No other years of clarks, not a 302 ford starter... no this was a custom cast nose mounted on what I can tell is a 350 chevy motor... at least that is the NEW one re-manufactured by Dixie. (S-1183) Then I find out it's available at the local auto parts store for 1/3 the price... ouch.

well here they are... old and busted and new and shiny:

IMAG1628

IMAG1677

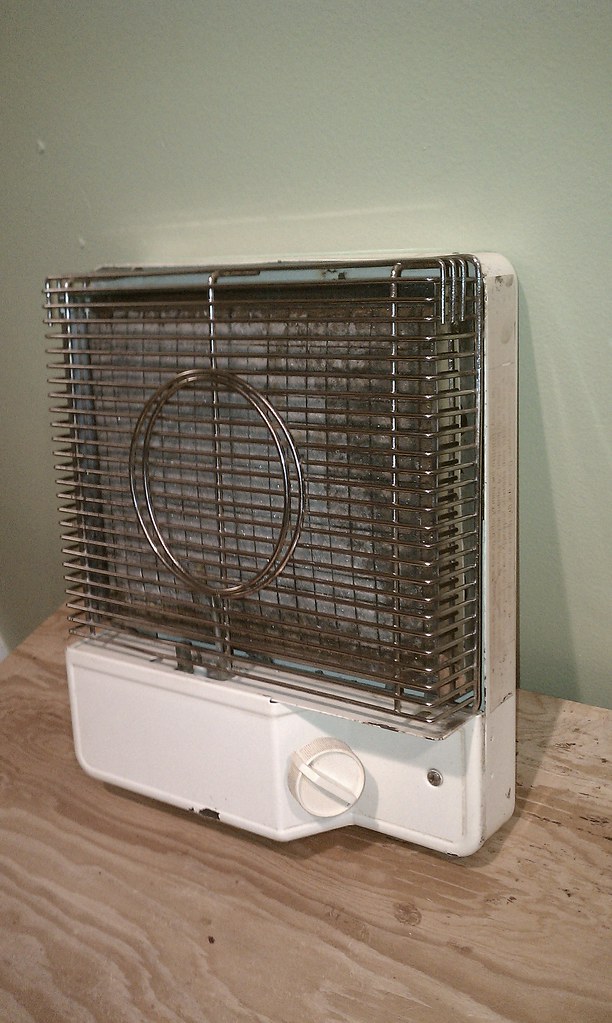
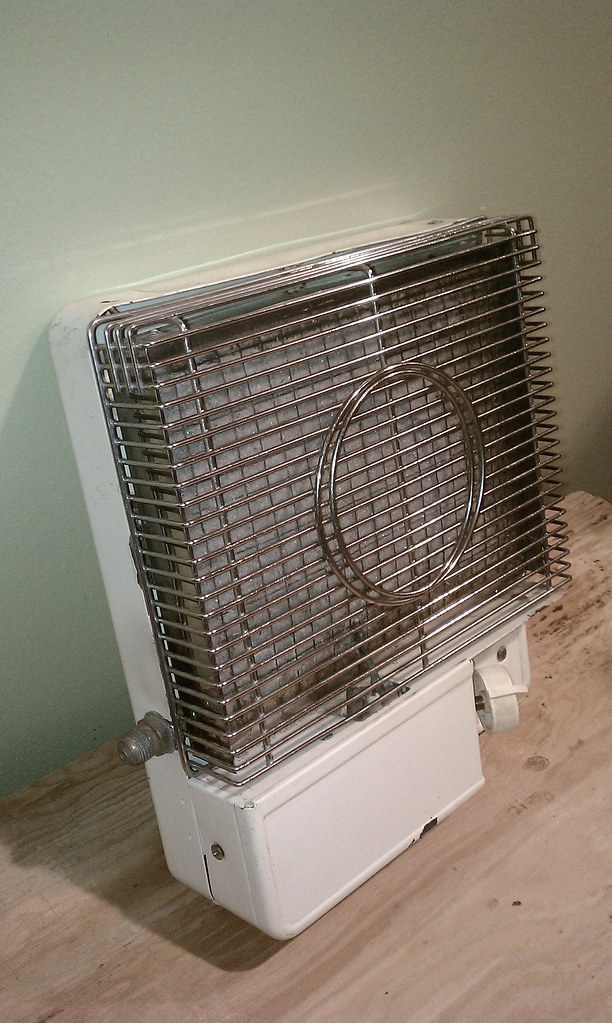
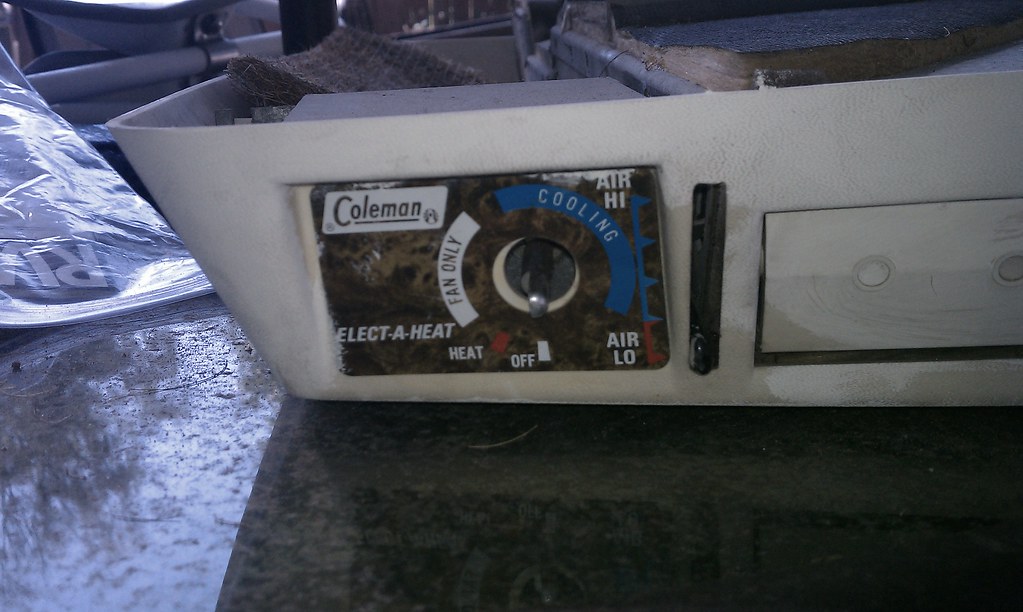
So after I ordered that starter, and was waiting for it to arrive... I installed the Coleman Mach III AC with the Elect-a-heat option. I picked this up from the guy I bought the awning from for the Barth. $180 and it works great. Even got the owner's manual for it... this AC is older than me. :)

IMAG1619

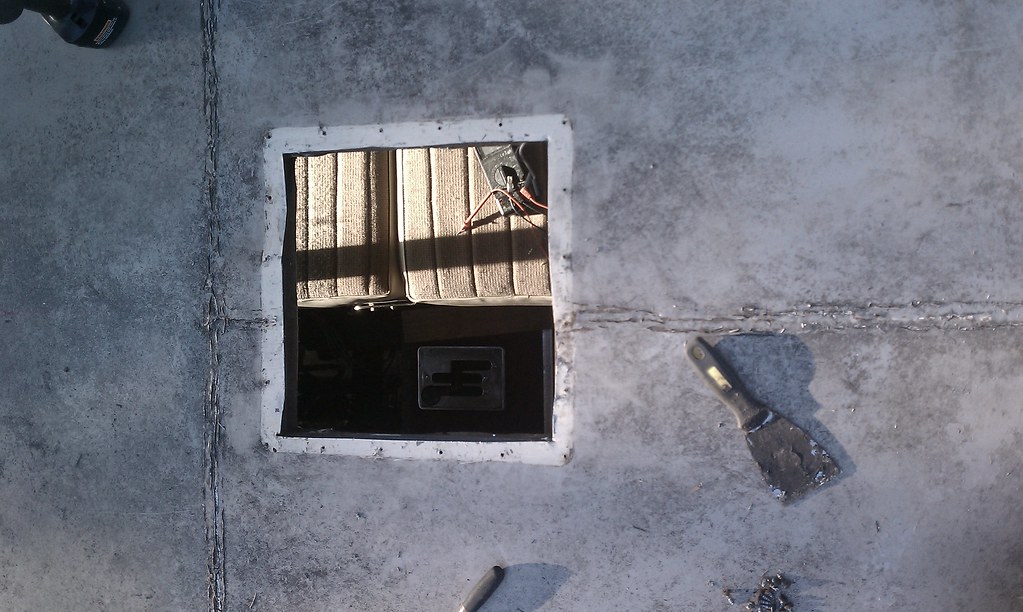
out came the ceiling fan (for now, plan to re-use this in another area later) it's a power Hehr vent... have to re-use. But I took it out to make room for the AC.

IMAG1646

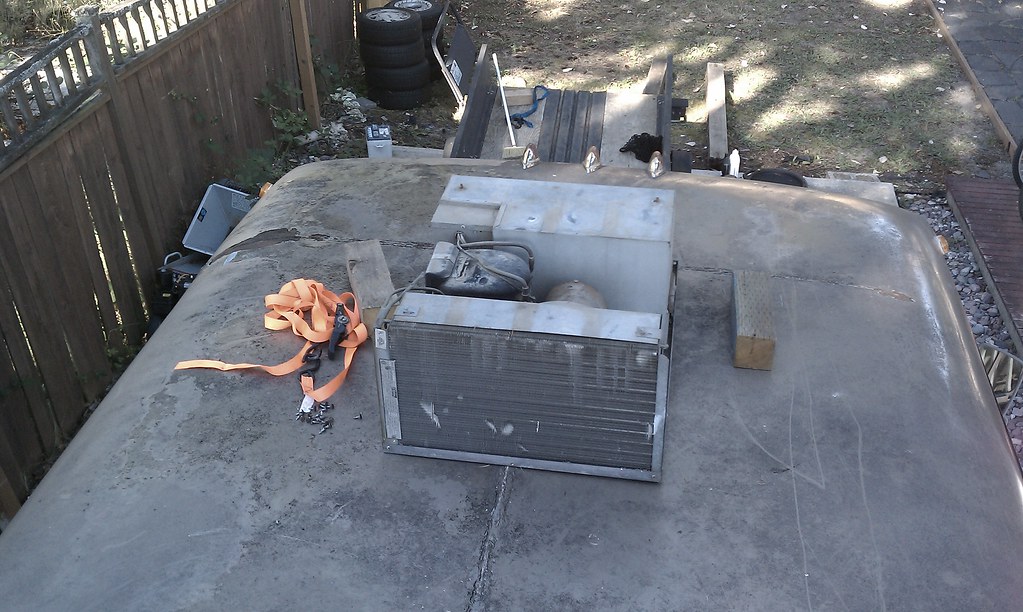
Got some help to lift it to the roof

IMAG1648

inside

IMAG1650

3 long bolts squish the roof and hold it in place with this bracket

IMAG1652

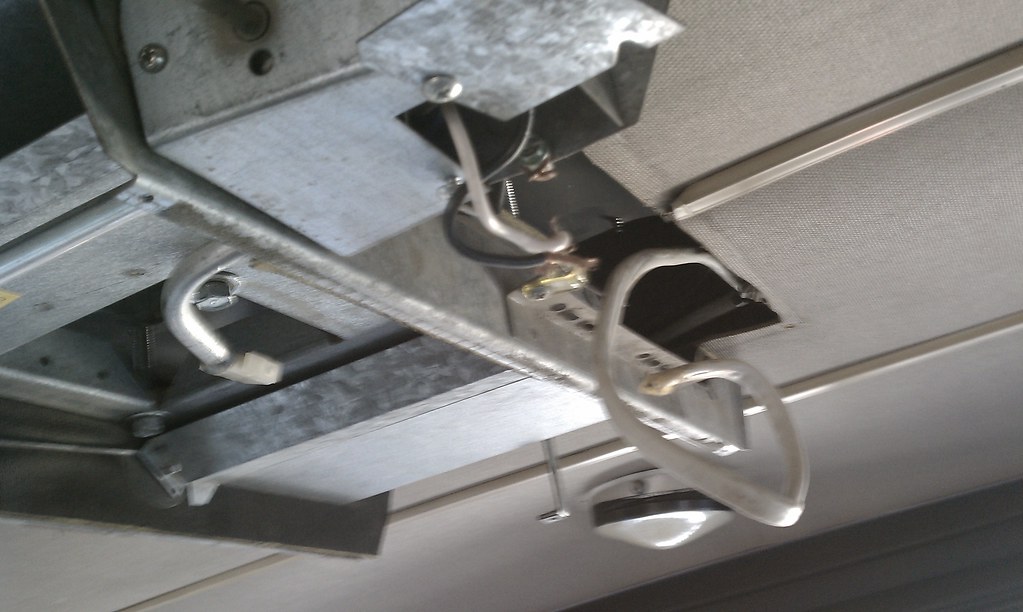
Found Clark decided to wire all 1969 Cortezes with 110v duplex, just in case the customer choose the option... in my case I did, just 42 years later. I wired it in to the box then installed the heater element panel

IMAG1655

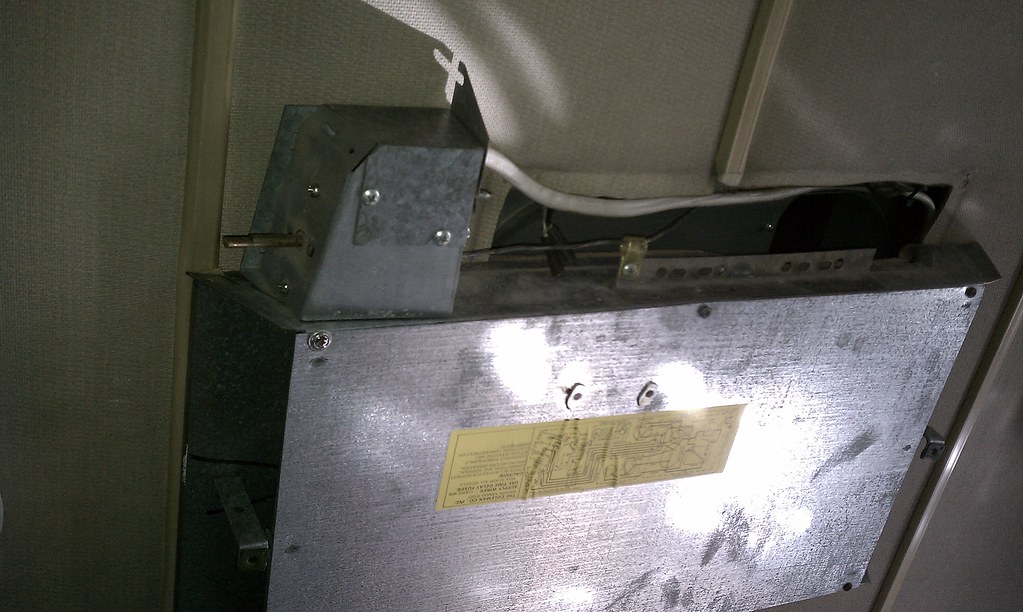
forgot to take an interior shot of it installed... or Exterior with the shroud on... got destracted trying to trace that wire to find out why I didn't have power...

So I took down several ceiling panels to trace that wire only to find it dropped down the wall but was not connected to the panel. But I couldn't find the otehr end, so I pulled it out of the wall then ran it back down and tied it into the 20 amp fuse for the Converter/Charger. Both run just fine together and have yet to blow the fuse.

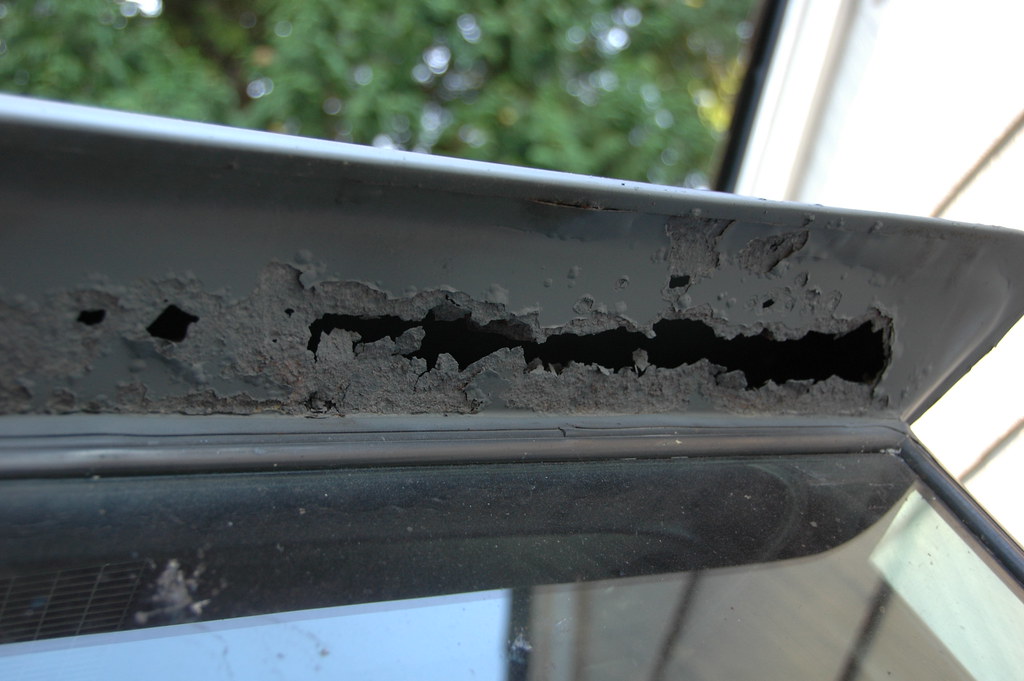
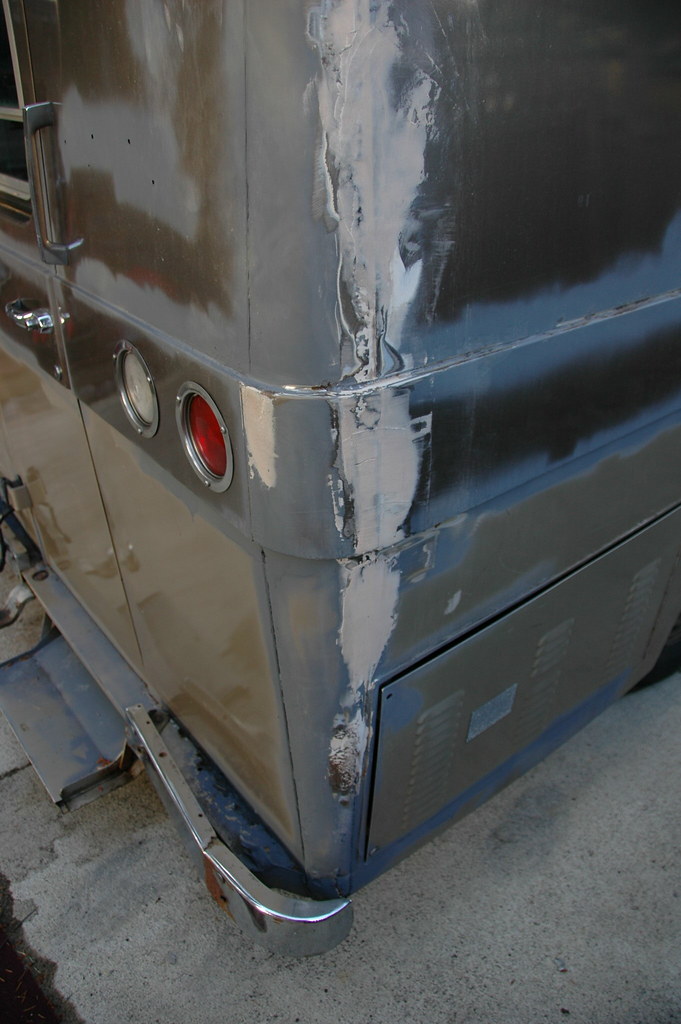
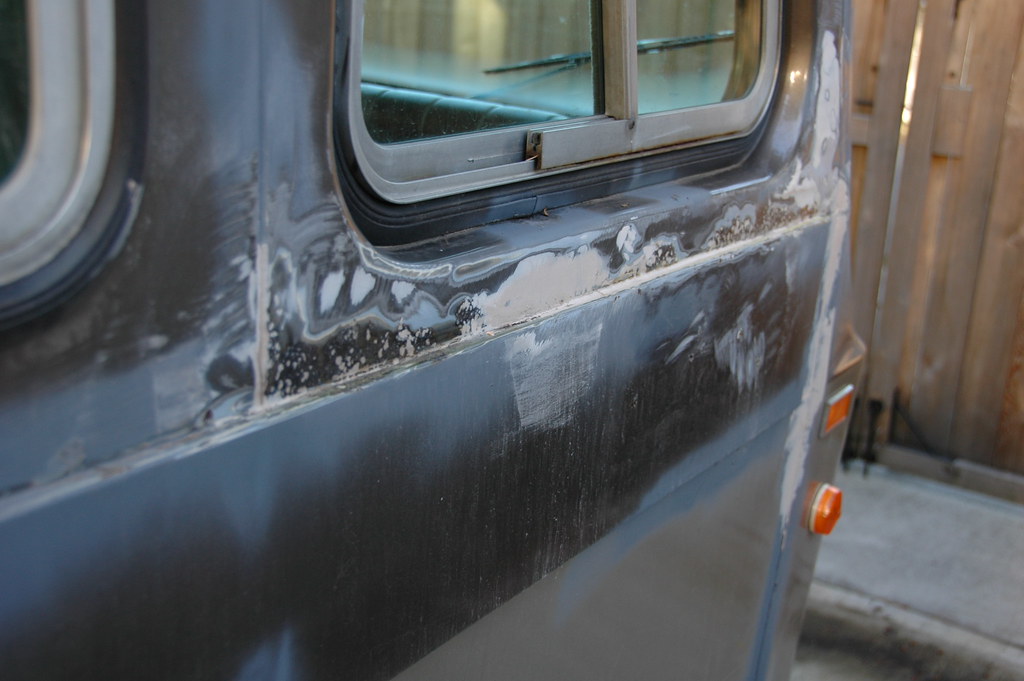
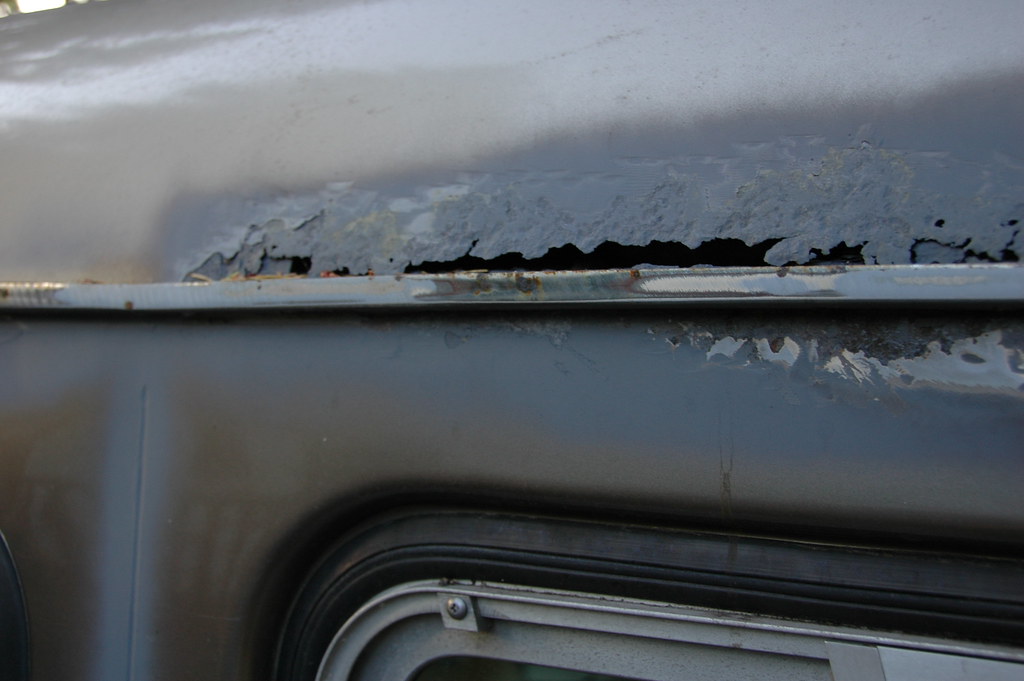
So starter is in, AC is working... time to clean her up a bit and get ready to head up to Lynden for another Vintage Trailer and RV rally this weekend. Can't wait!