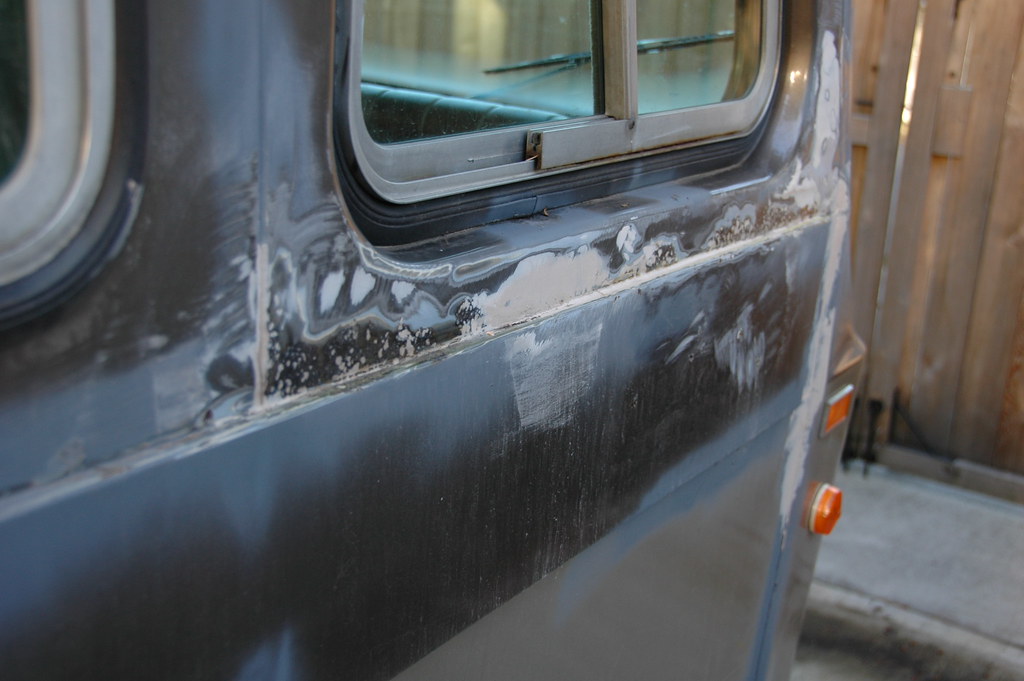
So we grabbed a few screwdrivers and went to work popping all of the little rust bubbles... EVERYWHERE!!
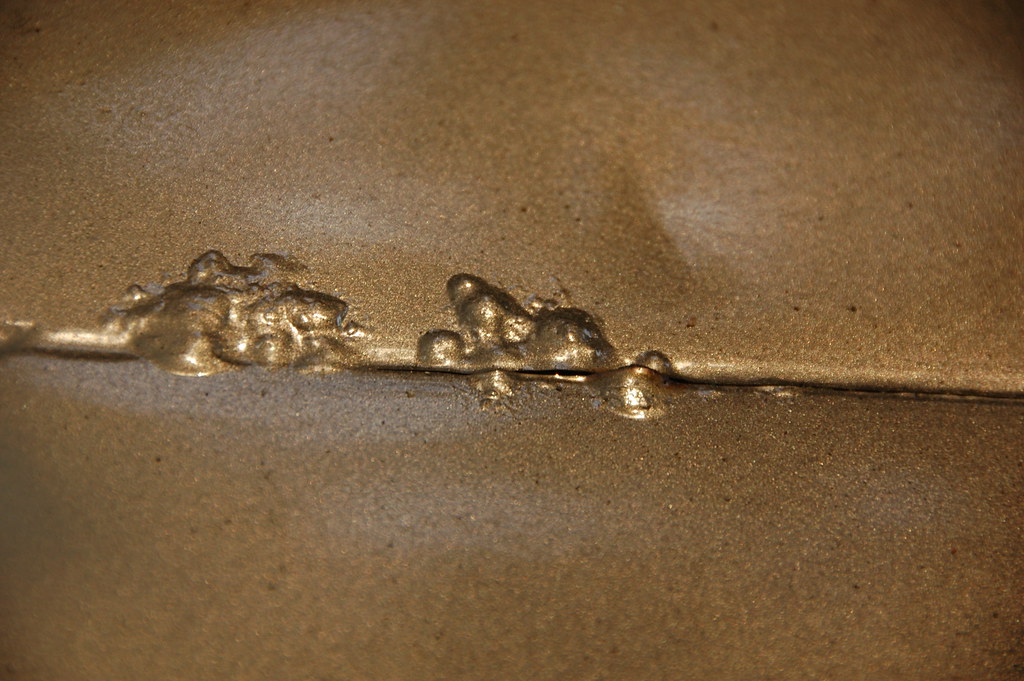
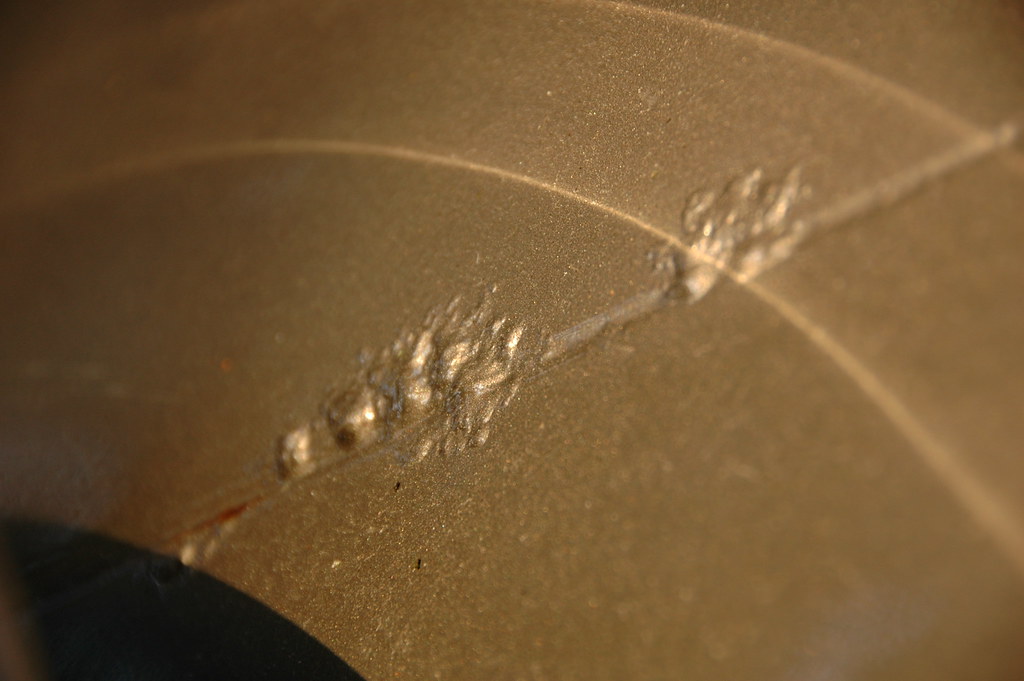
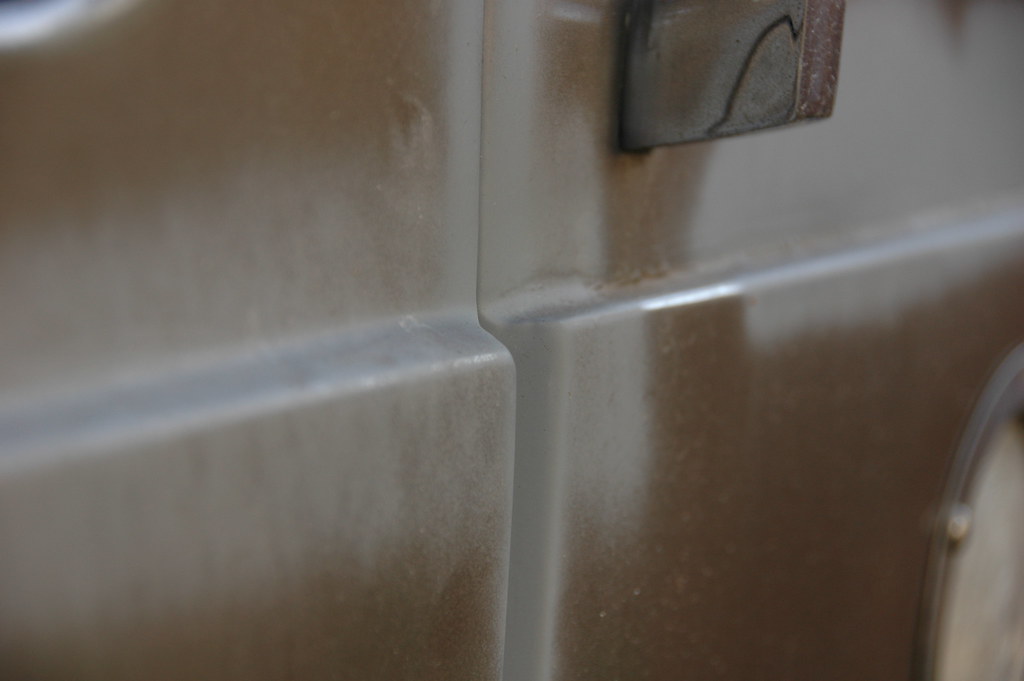
They were on the belt line, above and below. Below the gutter, in the gutter, above the gutter. Down every body panel seam. under the front and rear spoilers... along the bottom. You name it, there was rust bubbles. I'll be smoothing out every one of these damn seams... just one more place for water to get under the paint and make rust bubbles.
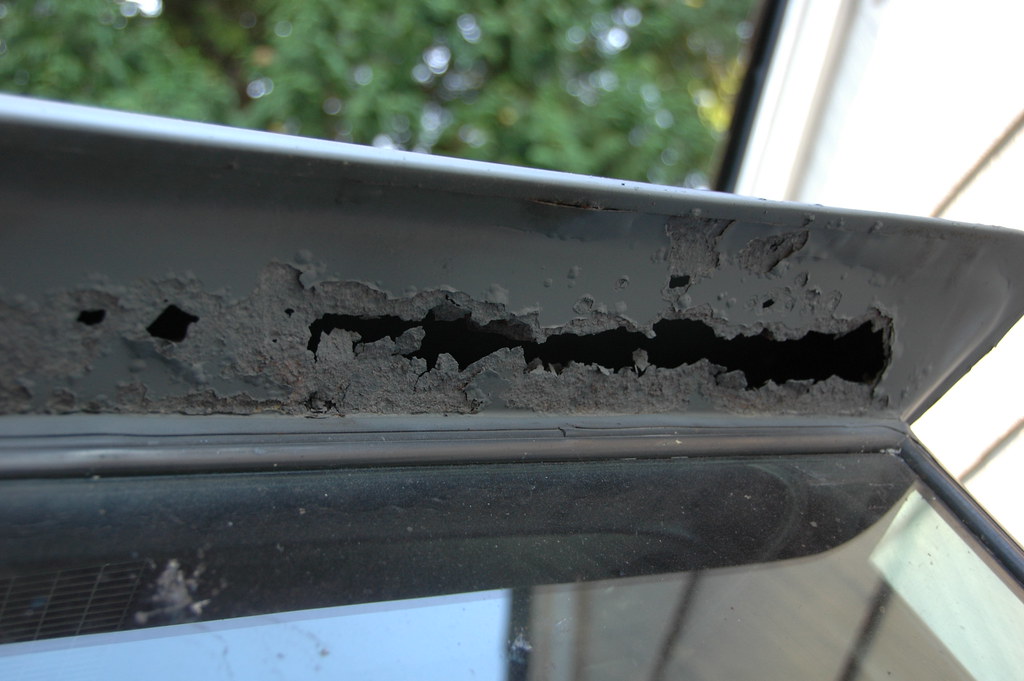
Then I pulled out the 4" grinder and a flap disk and went to town on the spots that were a lot worse. It's really bad when some spots you can poke your finger through it... basically the paint was holding the rust together, barely.

so I started in on the LONG LONG project of removing all of the rust areas, and filling in the rough spots to get this baby ready for paint in the spring. I'm not even going to try to get it painted this year... too much to do. But I did bet Rodney it will all be back together with paint by next year's Lynden Rally (Sept). I hope it will be much sooner then that!
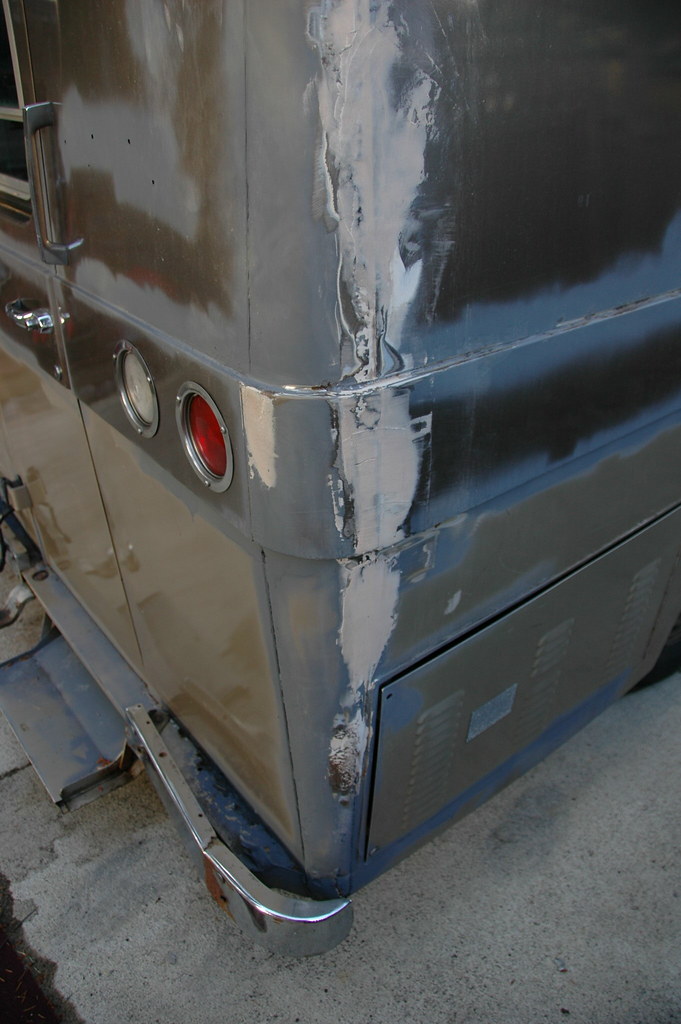
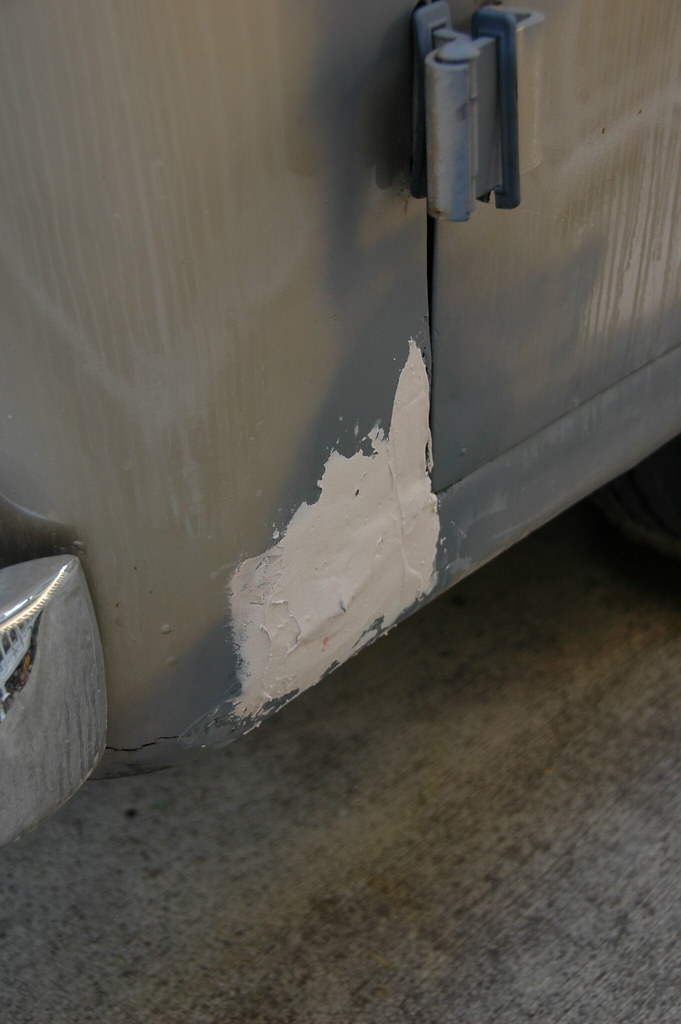
Here are some progress pics. I'm learning as I go with body filler and stuff... just shooting for a somewhat rust free, smoothish surface that will drain the rain off easier. After scraping and grinding I shot all the bare metal with a quick coat of primer, for nothing else to keep it from rusting again. It's been raining a bit and VERY humid, so trying to keep the rust at bay.
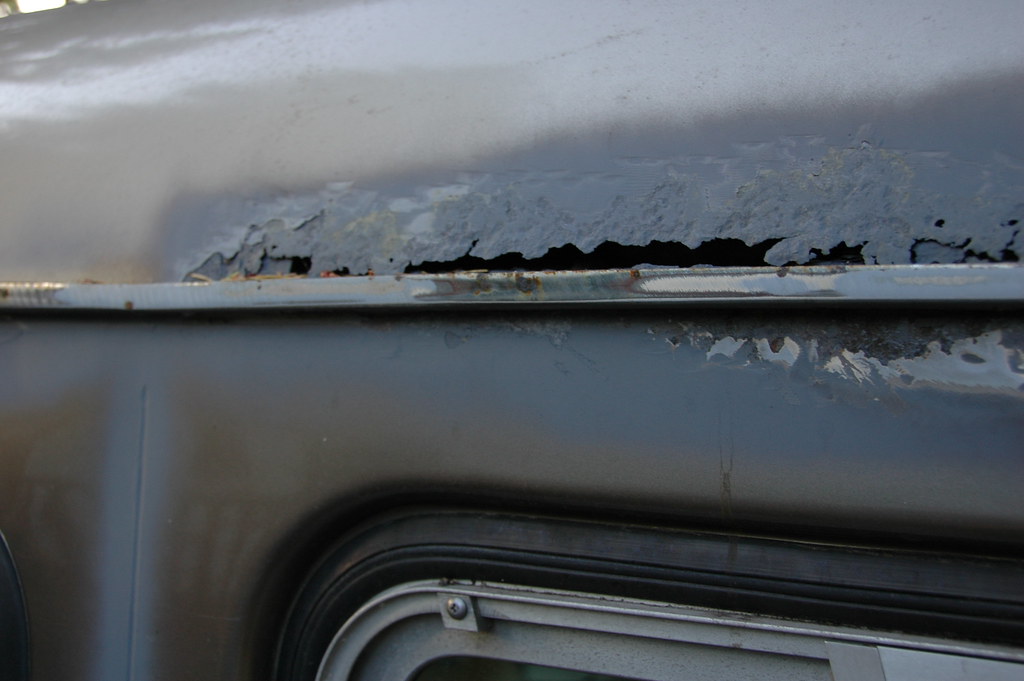
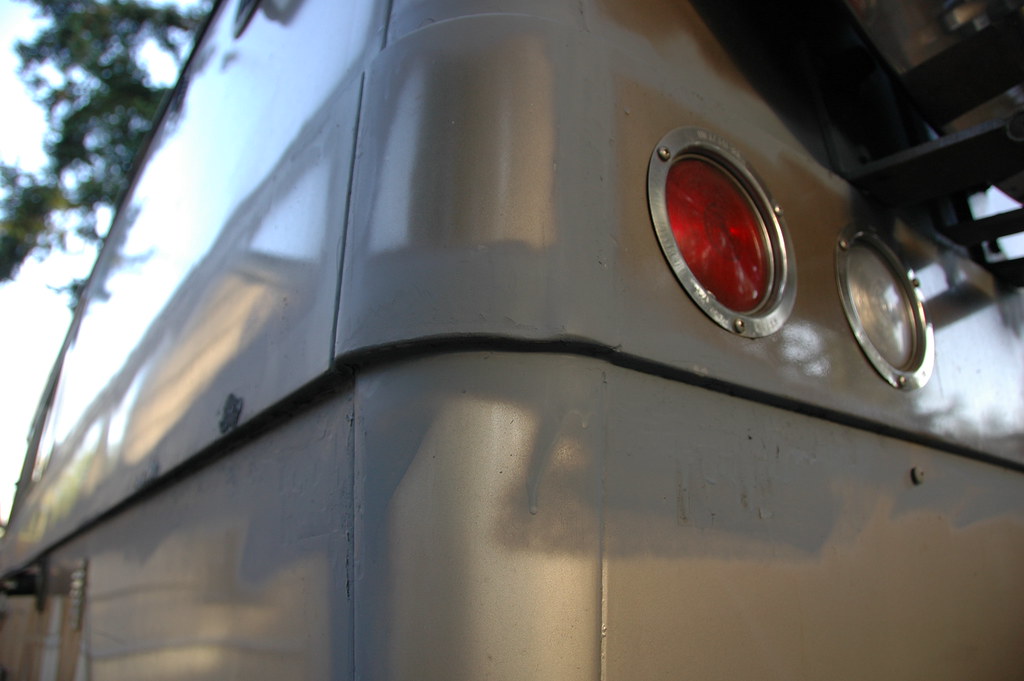
The rear door is almost 100% rust free... the trim strip was welded on correctly, with an angle to sweep the water away. The panel just next to that you can see is angled BACK towards the coach... gee.... I wonder why almost all of the beltline had rust?! I am going to probably modify a few things... one will be to create a jig to shape the bondo at the right angle to allow the water to run off better, the second may be to eliminate the gutters completely or fill them in and smoothe them into the roof.
I will be resealing the roof with a one-coat rubber roof of some sort... we'll get to that later, but for now those gutters are causing some issues and need to be dealt with... in the form of eliminating the water to be able to sit in them, period. Like I said this will either be to fill them and smooth the angle into the roof, or just plain cut them off.
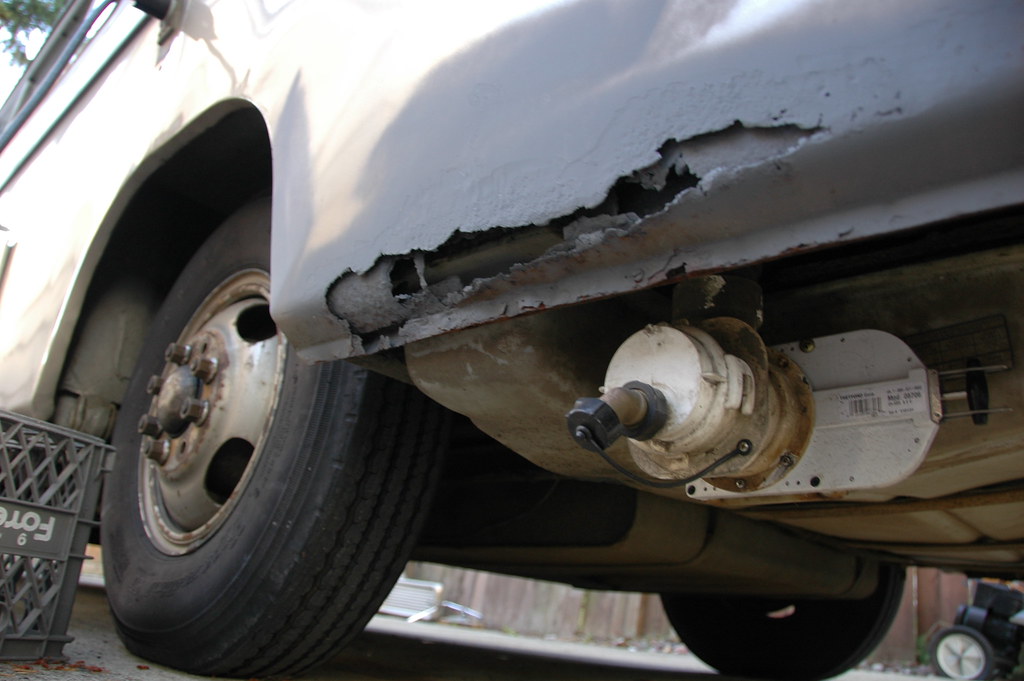
See, I have to rebuild for the most part both the front and rear spoilers due the the excessive amounts of RUST RUST RUST. So, do I want to try to re-engineer them? That may be my only hope here...
I could weld (or Rivet) pieces of Aluminum in place to do the same job, or just use Bondo. I wouldn't have used bondo if I hadn't found a shit ton of it already form the last paint job in 1990. So more bondo we go. Just looking for a smooth finish, and realize I'll probably need to do more rust repairs in the next few years, as I'm not about to take on a full strip down of the interior in order to remove and replace the rusty panels. See the walls and ceilings have insulation in them, so for most areas if I were to try to weld, i might end up catching the whole thing on fire.. so burned to the ground or bondo on the panels? You got it.
I'll try to post up a few more pics along the way as the work progresses...
That heater? I can't keep it lit... so I might need a new thermocouple ($17 or so) not too bad... but it may need to wait a bit.
No comments:
Post a Comment