Tuesday, July 19, 2011

My Entertainment System

So I bought a car stereo from my brother a while back,


The deck has some cool features. Built in 3" LCD screen, 2 RCA Video outputs and 1 Backup Camera Input. Plays MP3 and DVDs, SD card input, Line in and USB for plenty of flexibility. So it looks like the 8-Track is coming out after all in favor of the new media.

I figure I can run my Android phone on Google Maps or Pandora, piped in to the stereo. Movies? Sure I can do that too, it plays off the internal DVD, SD Card or USB. So when I install this where the 8Track once lived, it will become the multimedia hub of the RV. I will run a RCA Video and Audio back to the new entertainment system, and I think I will run a 12v power feed from the rear 'house' batteries to the front at the same time. My thinking on that is I will need to run the stereo when I want to watch movies and such, so it would be better run off the rear batteries as the converter will charge those and provide power when plugged in. The Coach automatically charges the front and rear batteries while driving and I won't risk running the starting battery down by accident.

So I removed the speaker in the wall on the starboard rear, the other 3 speakers will run off the new deck power (May need to upgrade them eventually too... but not right now.) and the line out for audio will run to the Altec Lansing PC speakers and sub woofer as well. So it will be (or can be) pretty loud. (Already tested it with Pandora on my phone) :)

So the speakers while traveling can run off the Inverter, then be swapped to 110v when we plug in at the camp site. This should work out quite well. Very minimal equipment needed or valuable space taken up.

So here is where the new Entertainment system will live. I still have access to the other inputs so if I wanted to plug in my laptop I could do that too.

IMAG1409

Water Water Water everywhere!!!

So I got what was I thought was the last thing to test out my new water heater... I guess not. I had to get some 3/8 to 1/2 rubber plugs for the bathroom sink fixture, the old dried out and cracked plumbers putty wasn't cutting it anymore. So installed those and turned the water back on... water was spraying everywhere! It was leaking from BOTH of my new connections (hoses) the inlet hose, and water was spraying on the wall behind the Stove... great, another leak.

After I finally got the stove out (Gas fitting was giving me grief) I saw there was an inch long split in the hot water pipe that ran to the rear. Out came the hacksaw, a 6" section of the same tubing I used to connect the water heater, and two more hose clamps. Because the pipe was so swollen back there too, I had to heat up some water to soak and soften the hose a bit. Now it has a custom fit hose clamped and done. Tried it again after tightening all of my hose clamps everywhere... Success! My system hold water pressure, yay!

my "rebuilt" kitchen faucet leaks when it's on.. so I'll have to rebuild that again with correct parts. it leaks under the handle only when it's turned on... so that's not too bad, as it mostly leaks into the sink... but I'll get some new parts all the same.

but I found there was a leak in the P-Trap.. I re-tightened both connections trying to figure out what was happening... found again, there was a crack/split at the bottom of the trap, about an inch long.

So new Trap and gaskets for the fixture and I'm Done with plumbing so far.

Found a new Ball valve and rebuild kit for the toilet for $20 on Ebay, bought that and will tackle the spraying ball valve when that arrives. Still need to do the waste valve. again, not looking forward to that.

Monday, July 18, 2011

Weekend Work

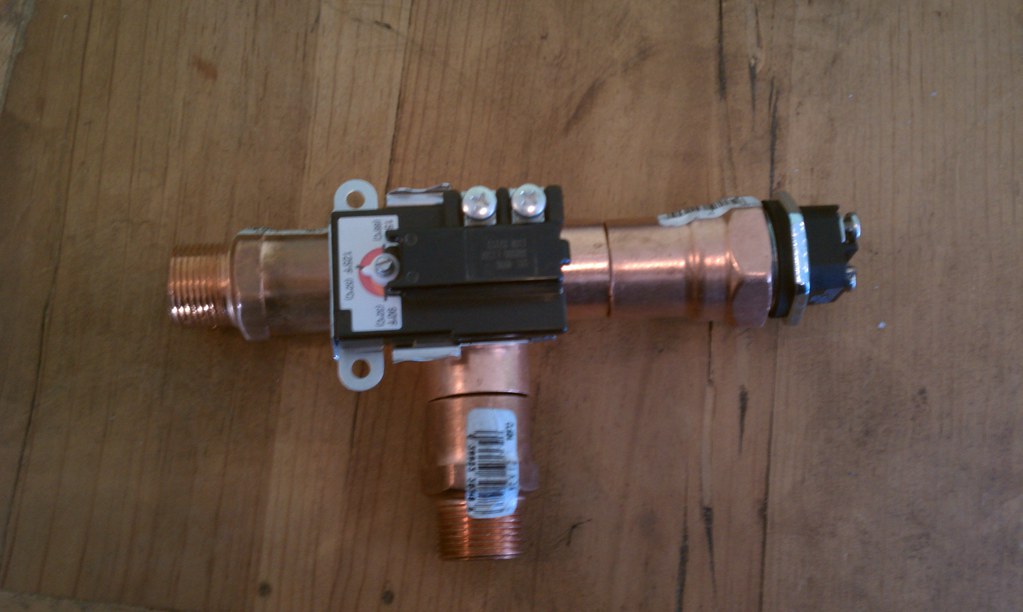
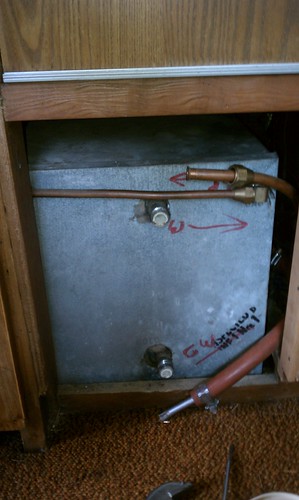
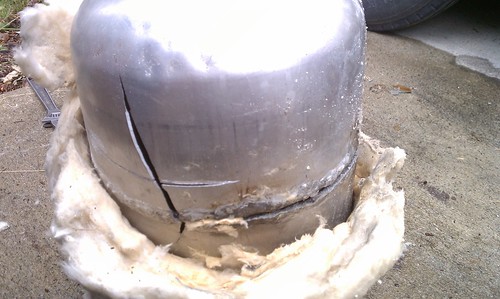
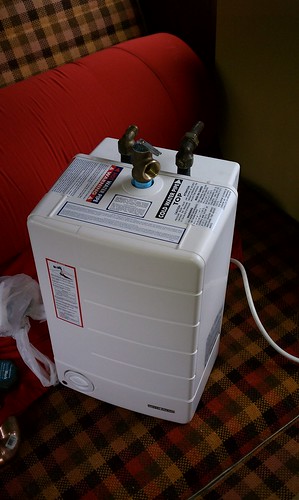
So this weekend I got a few things done to the Cortez. First I bought that 120v Water heater, and had to finagle that in to it's new home. Well this is where it needed to go, this one opened up like a can of pop in the freezer. :)

IMAG1383

IMAG1395

The new one!
IMAG1382

IMAG1407

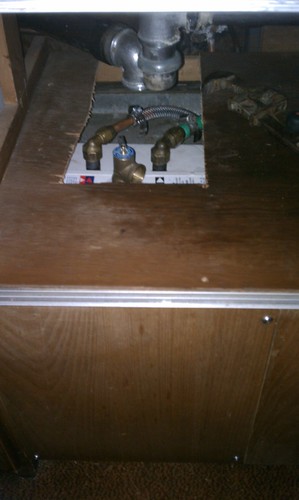
After fighting with it I found out the 1/2" copper pipe on the hot water side after 41 years decided it wanted to expand so as to not accept 1/2" fittings anymore, so I had to cut the pipe off and use pressure rated hose. So hopefully that all stays put.

So the little problem I thought I was going to have turned into a good solution... I took out the old water heater, so that left a one foot square hole in the side of the RV... the door that was on there didn't look too bad, and had a easy open (1/4 twist) screw... so after removing the guts from the LP water heater, I cut it down to size and riveted the end back in place and now I have a 8" deep cubby that is externally accessible for things like sewer hoses and fittings.

IMAG1400

IMAG1401

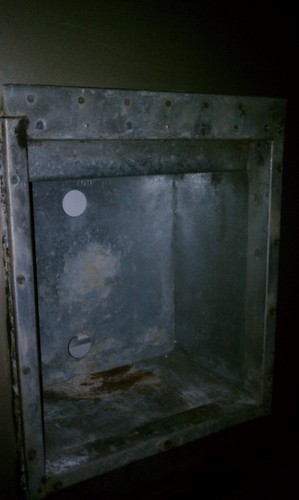
the door fits on like normal, and if I need to I can just plug those holes.. .but I don't think it will make a huge difference either way.

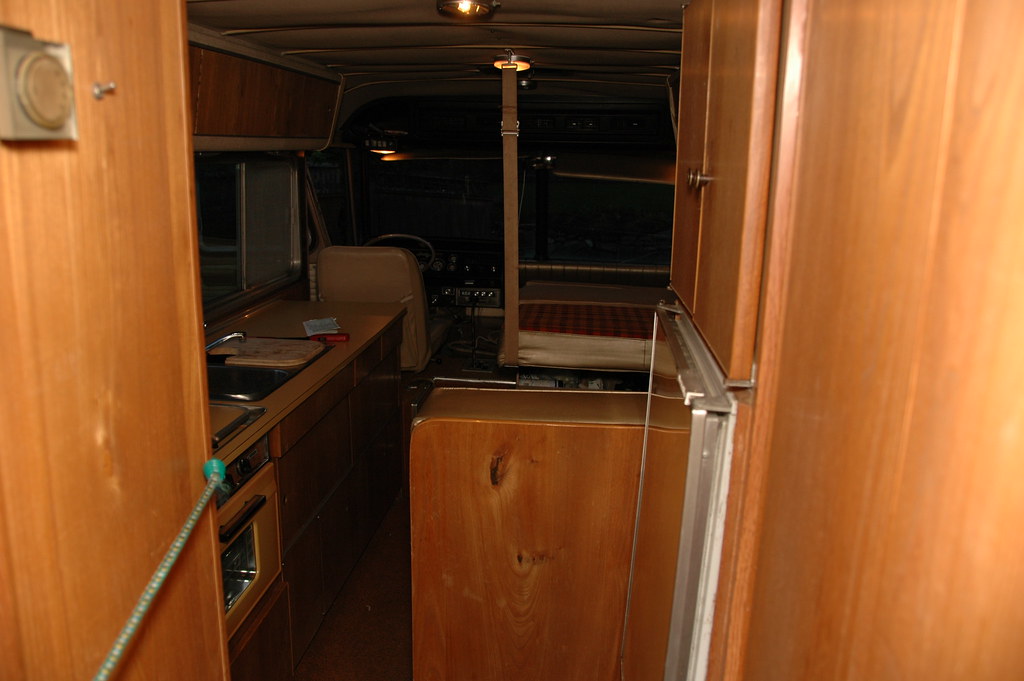
Wiring.. oh yea... I wired a new outlet directly to the fuse panel. The 30 amp service is broken up into 3 internal fuses, and a main shutoff. From the left to right: one line powers the 12v Converter/Charger and bathroom outlet, the 2nd runs the two kitchen outlets, one on the wall to the left of the stove (next to the water pump switch) and the other lower on the wall behind the driver's seat. Then the 3rd runs over to the fridge and outlet beside the dinette. The far right is the main turn off. These are now labeled ;)

So I wired this into the kitchen circuit, so if I need to turn it off for any reason, that is pretty quick and easy, this one only runs at 11amps, and the switch is rated for 20, so I should be pretty safe of not overloading it.

Other work...

I fixed the kitchen sink faucet, just replaced a few rubber seats and it works good as new now. I also replaced the bathroom faucet with a new 4" faucet i found on clearance at Lowe's for $20 or so... Just need to go get a few gasket washers tonight and I'll be set and be able to actually test the water heater. Yay!. (wish me luck!)

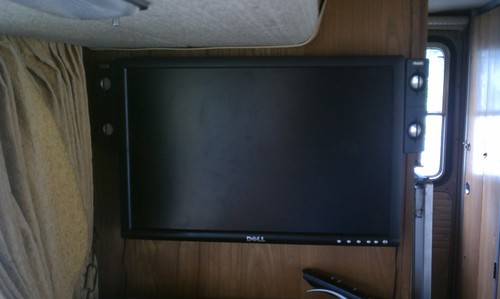
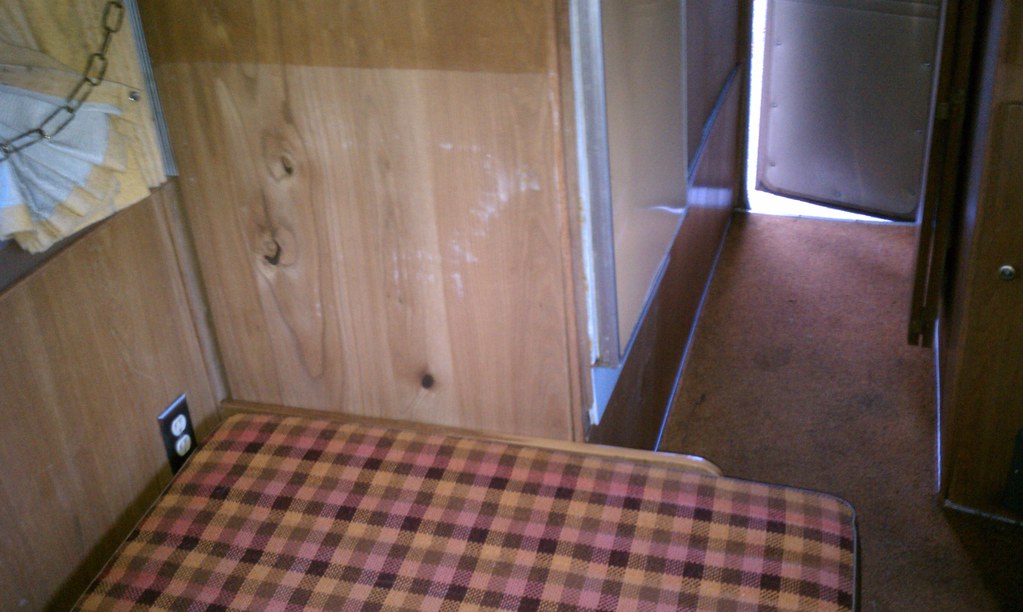
I got rid of a kitchen bag full of crap, out of drawers and storage... plus the scraps from the water heater install... continuing to clean her up. I have the deck ready to install, just need a couple of RCA cables to run to the new entertainment center (as I affectionately call it).

I am thinking of flush mounting the inverter in the cabinet, then installing a 120v outlet (on the fridge line) right beside it... this is where I will need to switch the power source from the inverter to 110v for movies (and rear view camera) on the go, or movies at the campsite. Should be as simple as changing one plug from outlet to outlet. :)

So, left on the list is still to replace that black water gate valve (screws are stuck after 41 years.. yeah.. fun)
IMAG1373

Also, change the oil, install the 300w inverter, and install a new 120v outlet inside the cabinet above the fridge. I also need to replace the ball valve on the toilet, it's leaking at the moment, but at least I can just turn it off pretty easy at the wall, but that doesn't allow me to use it. :)

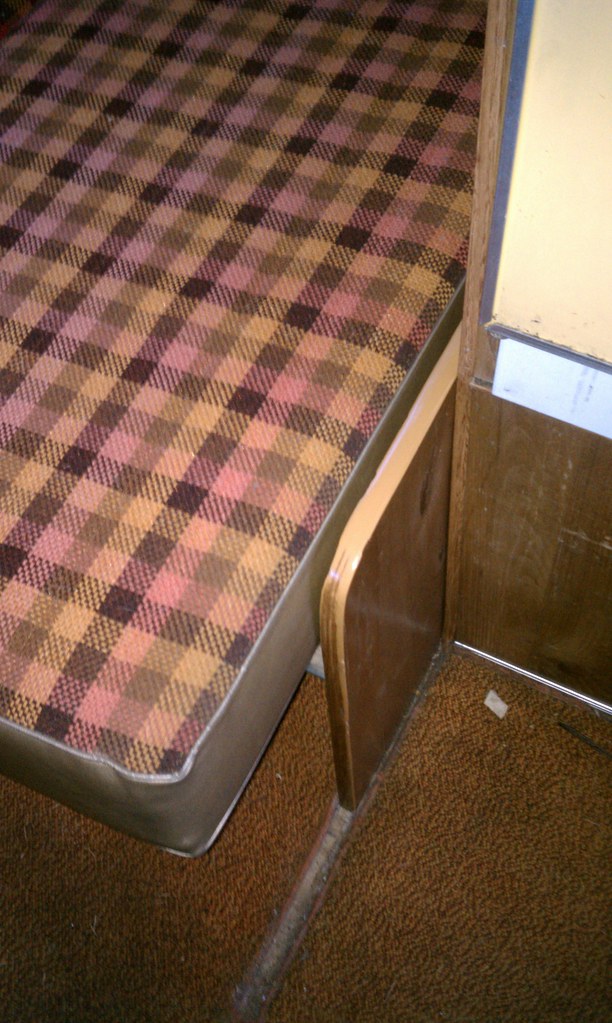
Once that is all done, I can see about other things... like carpet and upholstery. Carpet should be fairly cheap and easy to do, about $75 or so. Give it a day or so for that install.

The upholstery might need to wait as my upholsterer currently has his hands full with other things... should I attempt it myself?? maybe I can just order the vinyl and fabric from him and stitch them up myself... they are essentially covers... shouldn't be too bad, right? (Okay that discredits his skills... I may need to just wait.)

Then comes the exterior!

Tuesday, July 12, 2011

Instant Water Heater

So I bought the rest of the parts to build my on demand water heater for the Cortez. Originally I was going to make this with a far more elaborate design for the Aristocrat, but Copper was so darn expensive I had to put it off. I just need to find the pipe I had cut so long ago (sitting in a bag somewhere, probably upstairs) then I can solder it all together.

So this is the new design, pretty simple... cold water comes in one end, triggers the thermostat to turn on the 1500w diode, that heats the water (or warms it a bit... we'll see on that part later) and it flows out the other end hopefully hotter then it entered.

Actual use would be warm water for washing hands and dishes, not planning to use this for showers.

My water heater has a blown out core, so it's leaking profusely inside the coach... so that's plugged at the moment and will eventually be gutted for exterior storage (Sewer hose and such) and this will be installed on the end.

I figure, a 120v current from the fuse panel (4 feet away) with a simple switch to turn it on or off, and we are set!

Here are the parts I bought... these ran about $70, the Copper pipe another $16 or so... and this is the reduced cost option! The other design would have cost well over $150 or so... more bends, more elements... :)

IMAG1375

strike that... that got me thinking, why build it when I can buy one I know will work? Looked on Craigslist just now and found another point of use water heater that will work fine for $75 and it will take the guess work out of this. :)

Friday, July 1, 2011

Chopped the Divider Wall

So I installed another house battery yesterday... harder than you think, the 2nd battery I had wasn't the same group size, so I had to add a platform on the battery tray and use a patch cable to wire them up. That took a bit more time then I thought it would...

on to bigger things that are now smaller. :)

So I cut the partition wall down to 20" tall, and 10" shorter. I think I might need to do it a bit different after I install the new carpet... maybe create a box of sorts to cover up the brackets a bit better. But for now this will work great.

this is the wall I modified:
DSC_6418

Now it looks like this:
IMAG1339

here you can see the line where the wall used to go up to... so you can see how much I removed. Also you can see how much more "open" the interior looks, especially when made into a bed.
IMAG1340

Another view... you can see where the new position of the bracket is.. .(it moved 4" to the left)
IMAG1341